The Ultimate Guide to Zonai Device Dispensers in Tears of the Kingdom
In the expansive world of The Legend of Zelda: Tears of the Kingdom, Zonai devices have revolutionized how players approach puzzles, combat, and exploration. These ancient artifacts, when fused with Link's Ultrahand ability, enable the creation of everything from simple rafts to complex war machines. However, acquiring these devices requires locating Zonai device dispensers—gachapon-style machines that trade Zonaite for a random assortment of devices. As of 2026, with the game still thriving, this guide remains your definitive resource for finding every dispenser across Hyrule's surface, the Depths, and the sky islands.
🛠️ What Are Zonai Devices?
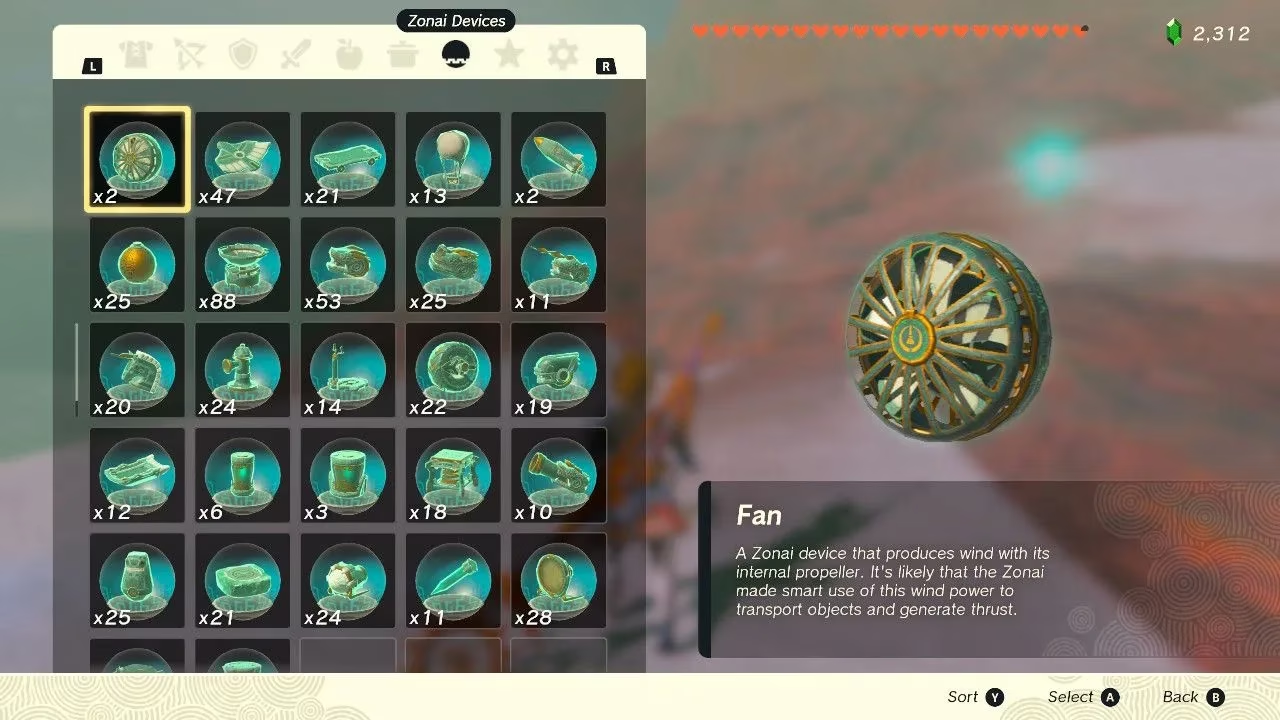
Zonai devices are the building blocks of creativity in Tears of the Kingdom. Each device serves a unique purpose, and understanding their functions is key to mastering the game's engineering aspects. Below is a comprehensive list of all Zonai devices and their primary uses.
| Device | Description | Usage Notes |
|---|---|---|
| Balloon | A hot air balloon that provides lift. | Requires a flame source beneath it, such as a campfire or Flame Emitter. |
| Battery | Temporarily powers other devices without draining Link's Energy Cells. | Energy depletes as devices are used; more devices mean faster drain. |
| Beam Emitter | Fires damaging light beams at long range. | Excellent for turrets and keeping distance from enemies. |
| Big Battery | A larger version of the standard Battery. | Offers several times more power; found in treasure chests. |
| Big Wheel | A powerful wheel for vehicles, handling rough terrain. | More powerful than Small Wheels; ensure all face the same direction. |
| Cannon | Fires exploding projectiles. | Aim can be tricky manually; best paired with Construct Heads for homing. |
| Cart | A flat platform with wheels for moving on flat surfaces. | Needs force to start; great for makeshift runways. |
| Construct Head | Detects enemies and aims attached devices. | Useless alone; attach an Emitter or Cannon for a homing turret. |
| Fan | Produces wind to propel vehicles through air or water. | More fans mean stronger push; ideal for wings and boats. |
| Flame Emitter | Shoots fire. | Best on shields or fused to weapons; also ignites Balloons. |
| Frost Emitter | Shoots freezing air. | Freezes enemies, allowing for shatter bonuses with melee attacks. |
| Homing Cart | Moves over flat ground and homes in on enemies. | Effective when carrying Emitters or Time Bombs. |
| Hover Stone | Stays in place midair, allowing Ascend. | Slowly drains energy; useful for makeshift stairs or high ground. |
| Hydrant | Emits water. | Creates platforms in lava; useful for crossing lava rivers. |
| Light | Emits light in dark places. | Short range but constant; Brightblooms are a non-energy alternative. |
| Mirror | Reflects light beams. | Essential in Gerudo Desert and shrines. |
| Portable Pot | Allows cooking one meal or elixir. | Disappears after use; can act as a joint for vehicles. |
| Rocket | Produces powerful thrust. | Attach to shields for a boost; great for vertical takeoff. |
| Shock Emitter | Fires electricity when struck. | Only the horn is electrified; useful for fishing trawlers. |
| Sled | A smooth-bottomed device for sliding. | Better than Carts on sand, snow, and ice. |
| Small Wheel | Spins quickly for flat surfaces. | Consumes less power than Big Wheels but struggles with bumps. |
| Spring | Expands and contracts to bounce objects. | Can be used on shields or placed on ground for extra height. |
| Stabilizer | Stands perfectly upright when active. | Helps stabilize platforms and assists Addison with signs. |
| Stake | Can be planted into ground or walls as footholds. | Remains fixed unless hit again; useful as a jack. |
| Steering Stick | Allows control of vehicles. | Activates all devices on a build when engaged. |
| Time Bomb | Detonates after a timed delay. | Attracts enemies; can be attached to shields. |
| Wing | Harnesses wind for lift. | Easier to control with a Steering Stick; pair with Fans for long distances. |
🎰 What Are Zonai Device Dispensers?
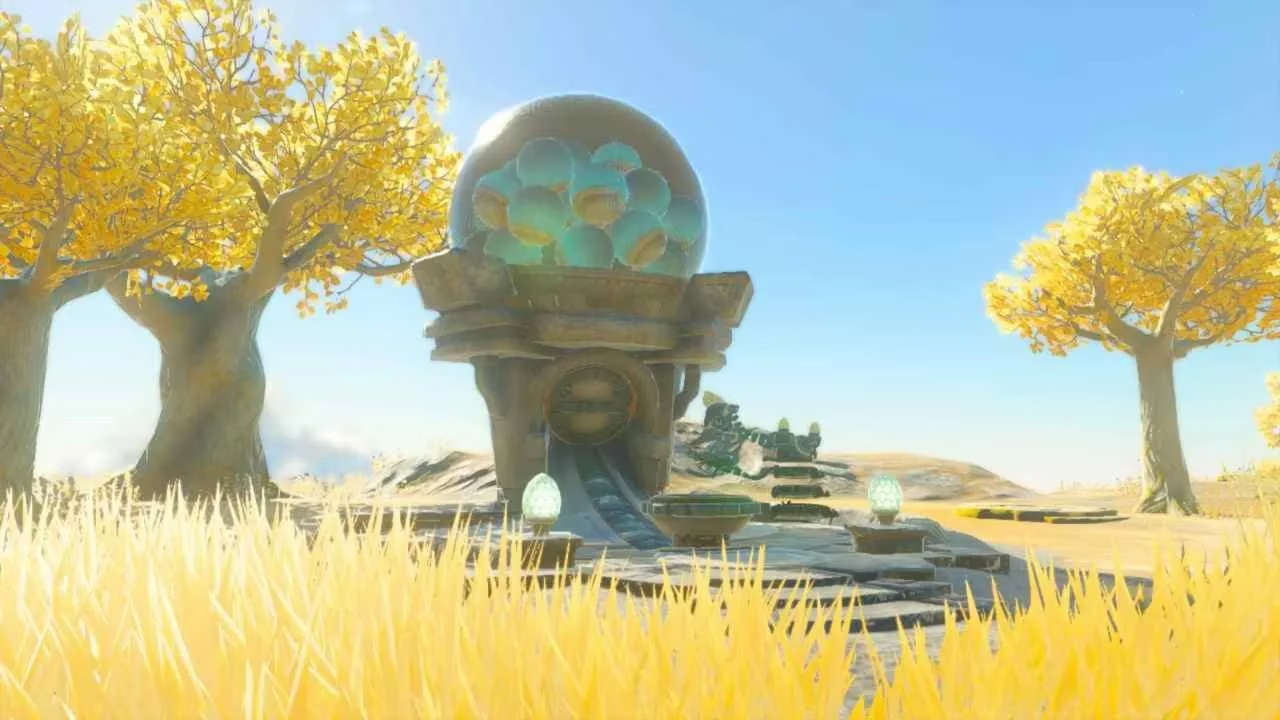
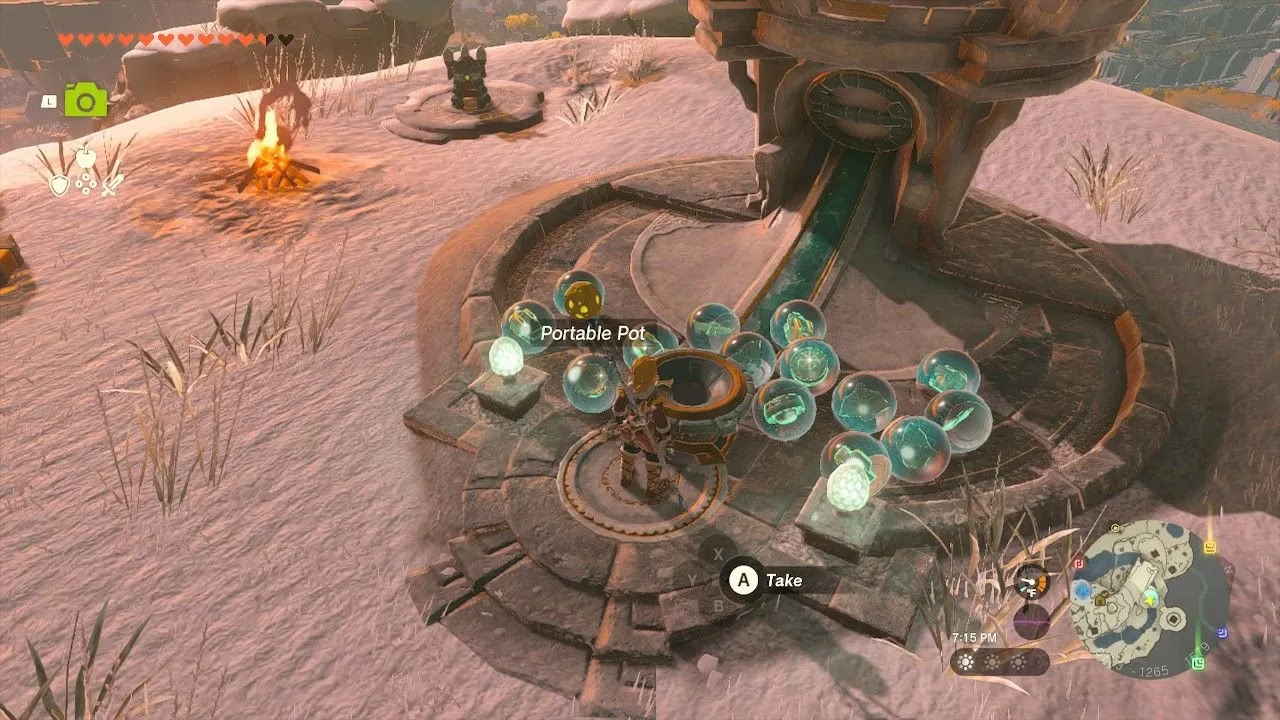
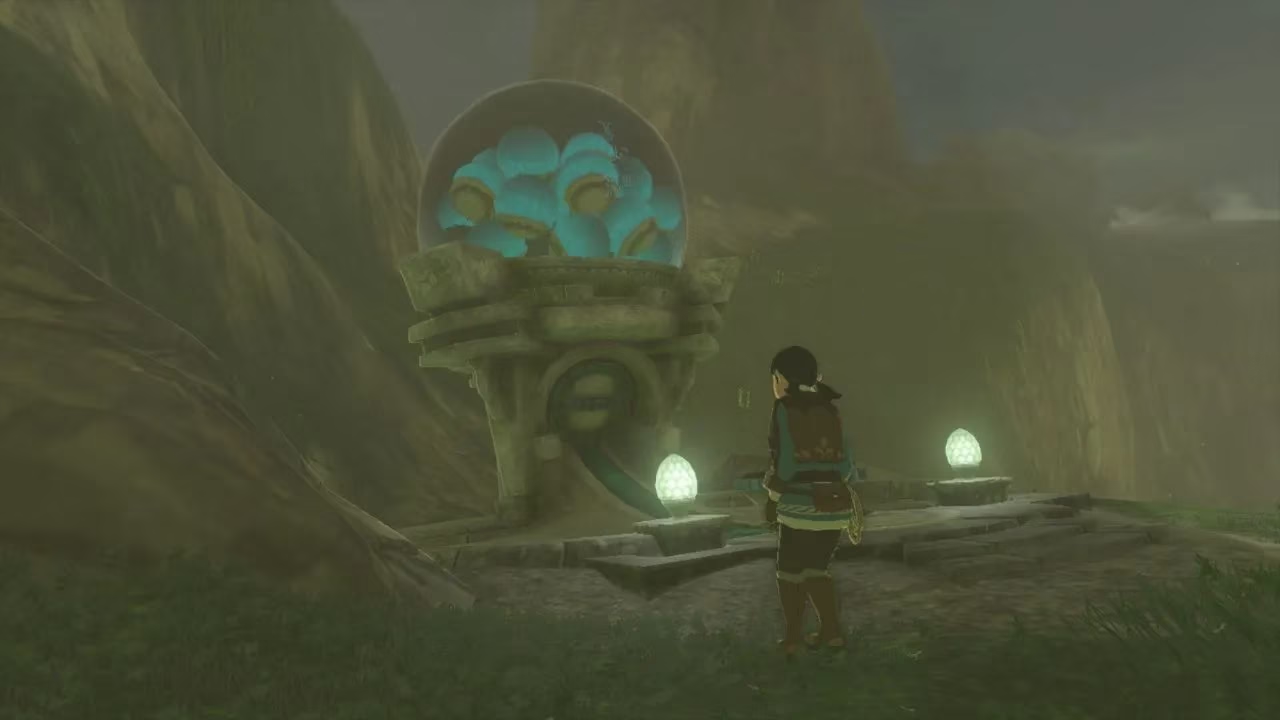
Zonai device dispensers are gachapon-style machines that accept Zonaite in exchange for a random selection of Zonai devices. They are found across all three layers of Hyrule: the surface, the Depths, and the sky islands. Each dispenser holds a unique inventory of three to six different devices, meaning players must visit multiple dispensers to collect everything they need. To use a dispenser, simply drop Zonaite into the receptacle at the bottom and watch as it dispenses capsules containing the devices. These capsules can then be attached to weapons, shields, or used with Ultrahand.
🗺️ Zonai Device Dispenser Locations
With dozens of dispensers scattered across Hyrule, finding them all can be a daunting task. Below, every known location is compiled, organized by region. Each entry includes the devices available and the nearest warp point for quick access.
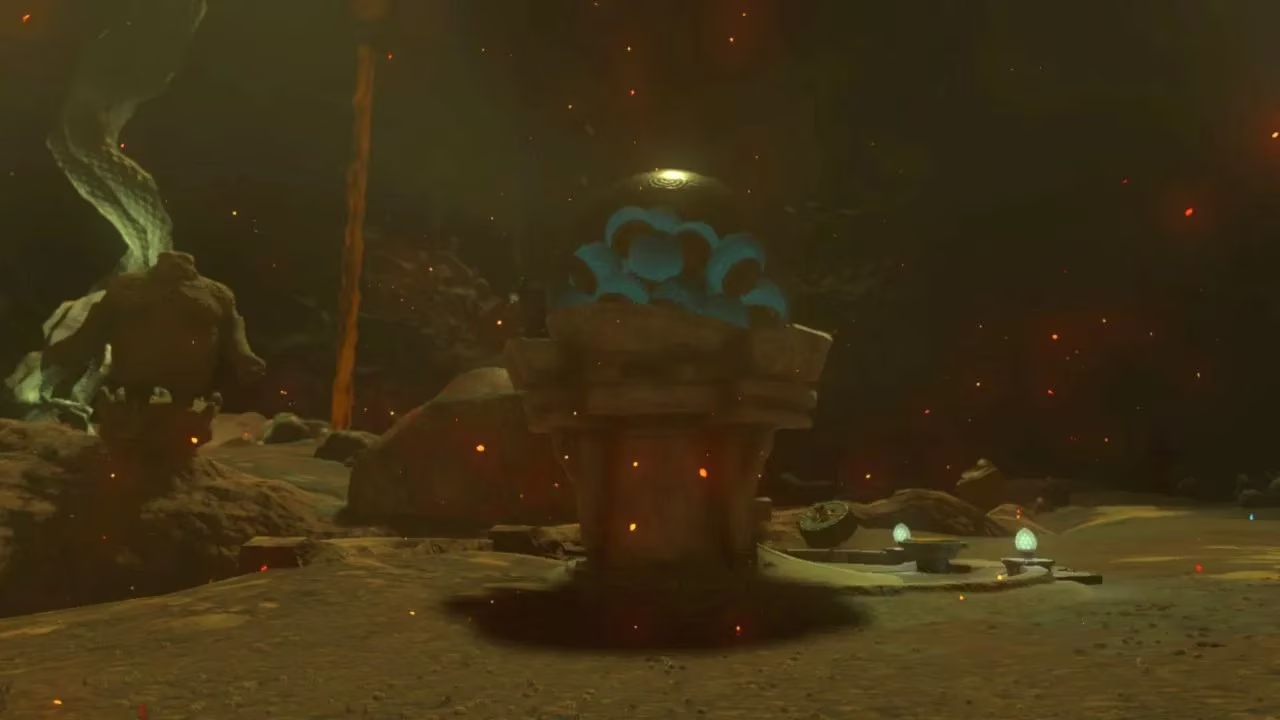
Dispensers in the Depths
| Location | Devices Available | Closest Lightroot |
|---|---|---|
| Death Mountain Chasm | Battery, Big Wheel, Portable Pot, Steering Stick | Mustis Lightroot |
| Construct Factory Left Leg Depot | Big Wheel, Construct Head, Rocket, Small Wheel, Steering Stick, Wing | Muokuij Lightroot |
Dispensers on Hyrule's Surface
| Location | Devices Available | Closest Warp |
|---|---|---|
| Kakariko Village (Pillars of Levia) | Balloon, Big Wheel, Fan, Stabilizer | Makasura Shrine |
| Gerudo Canyon | Battery, Big Wheel, Portable Pot, Spring, Stake | Riogok Shrine |
| Torin Wetland, by Tarrey Town | Balloon, Big Wheel, Fan, Rocket, Small Wheel, Steering Stick | Jochi-Ihiga Shrine |
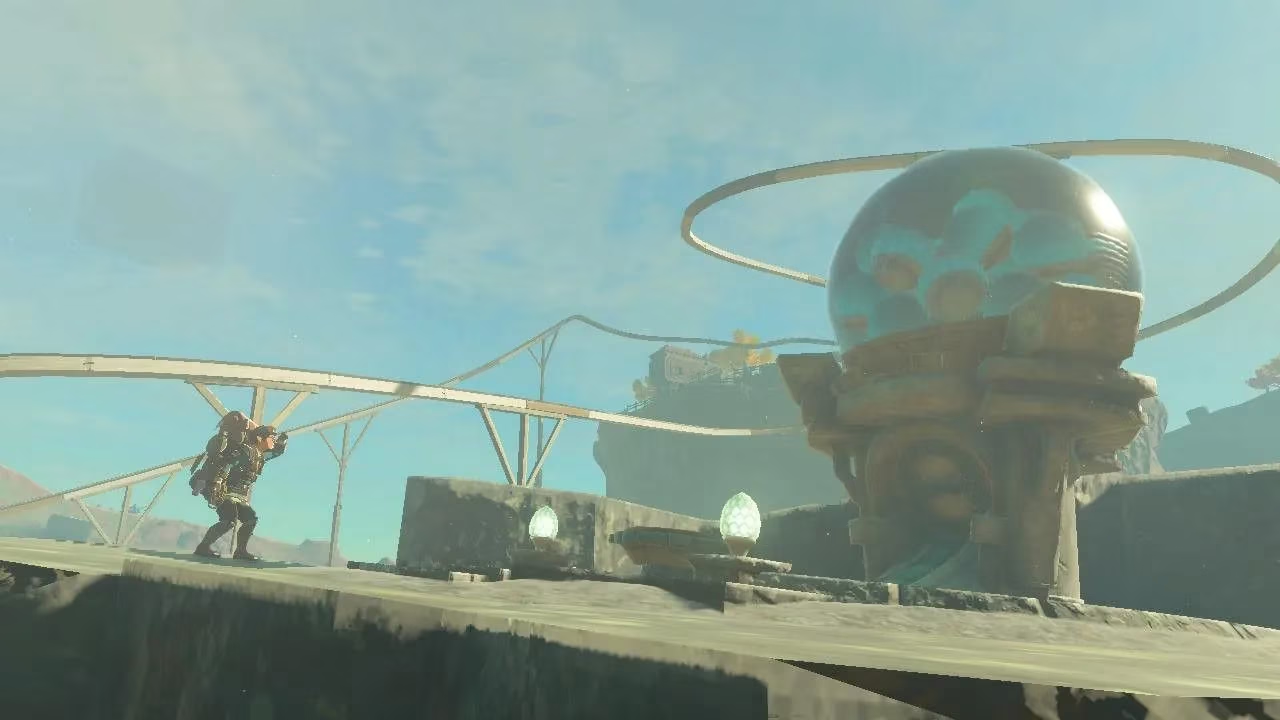
Dispensers on the Sky Islands
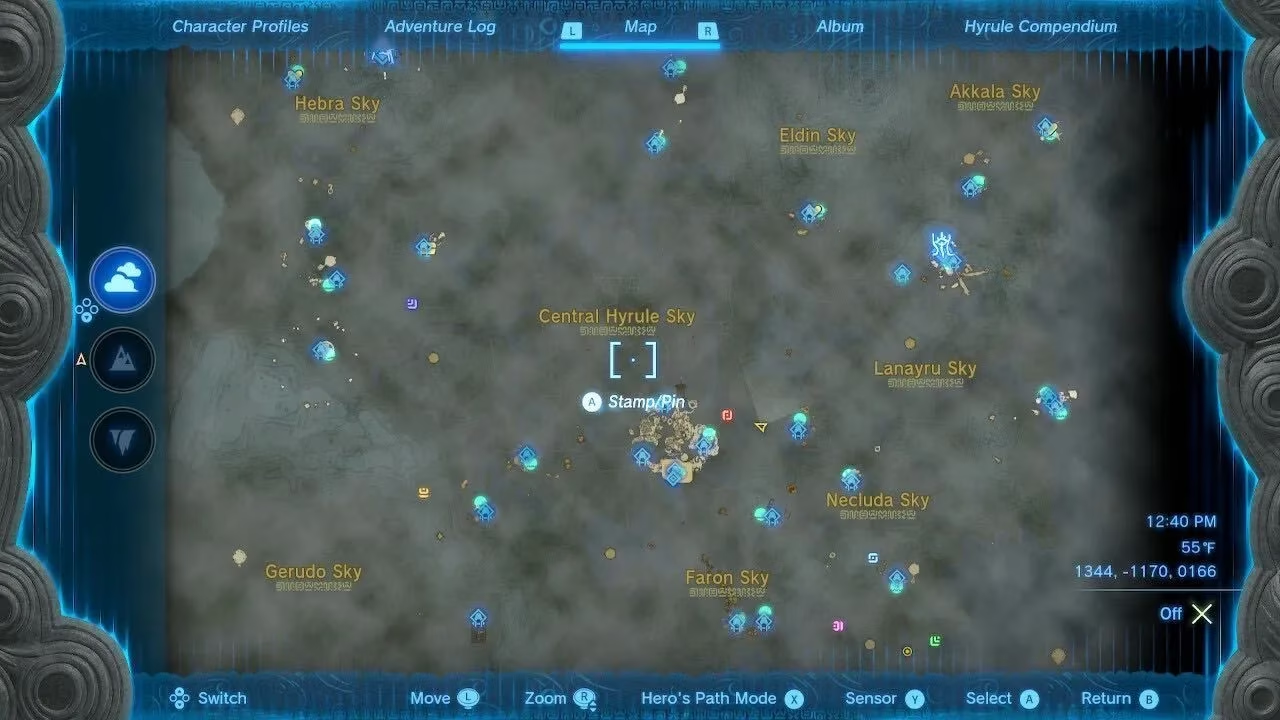
The sky islands are home to many dispensers, often requiring careful navigation with a paraglider and Zonai devices. Use Skyview Towers to reach them quickly.
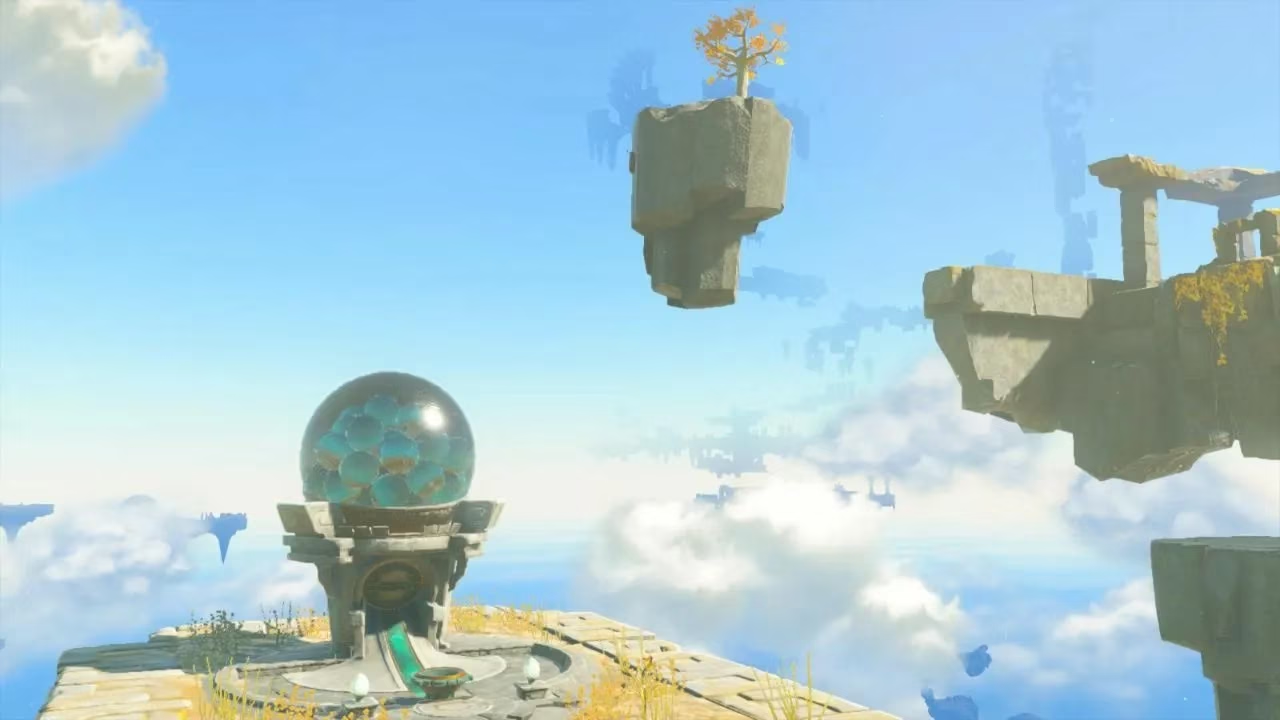
Akkala Sky
| Location | Devices Available | Closest Warp |
|---|---|---|
| Sokkala Sky Archipelago | Cannon, Cart, Construct Head, Homing Cart, Stake | Natak Shrine |
| Sky Mine | Homing Cart, Hover Stone, Hydrant, Time Bomb | Gikaku Shrine |
Eldin Sky
| Location | Devices Available | Closest Warp |
|---|---|---|
| South Eldin Sky Archipelago | Battery, Big Wheel, Fan, Hydrant | Kadaunar Shrine |
Gerudo Sky
| Location | Devices Available | Closest Warp |
|---|---|---|
| East Gerudo Sky Archipelago | Beam Emitter, Mirror, Sled, Stake, Steering Stick | Rakashog Shrine |
| Starview Island | Frost Emitter, Shock Emitter, Sled, Stabilizer, Stake | Mayasiar Shrine |
Great Hyrule Sky
| Location | Devices Available | Closest Warp |
|---|---|---|
| North Hyrule Sky Archipelago (Northern) | Homing Cart, Light, Shock Emitter, Steering Stick | Mayam Shrine |
| North Hyrule Sky Archipelago (Southern) | Battery, Construct Head, Flame Emitter, Light | Simosiwak Shrine |
| South Hyrule Sky Archipelago | Light, Rocket, Small Wheel, Time Bomb | Jinodok Shrine |
Great Sky Island
| Location | Devices Available | Closest Warp |
|---|---|---|
| Great Sky Island East | Fan, Flame Emitter, Portable Pot, Wing | Gutanbac Shrine |
| Great Sky Island South | Fan, Flame Emitter, Portable Pot | Nachoyah Shrine |
Hebra Sky
| Location | Devices Available | Closest Warp |
|---|---|---|
| East Hebra Sky Archipelago | Cart, Fan, Light, Sled, Wing | Taninoud Shrine |
| West Hebra Sky Archipelago | Flame Emitter, Portable Pot, Rocket, Time Bomb | Ijo-o Shrine |
| Tabantha Sky Archipelago, East | Balloon, Fan, Portable Pot, Time Bomb | Taunhiy Shrine |
| Tabantha Sky Archipelago, South | Frost Emitter, Mirror, Small Wheel, Wing | Ganos Shrine |
| Lightcast Island | Balloon, Hover Stone, Mirror, Spring, Wing | Ga-ahisas Shrine |
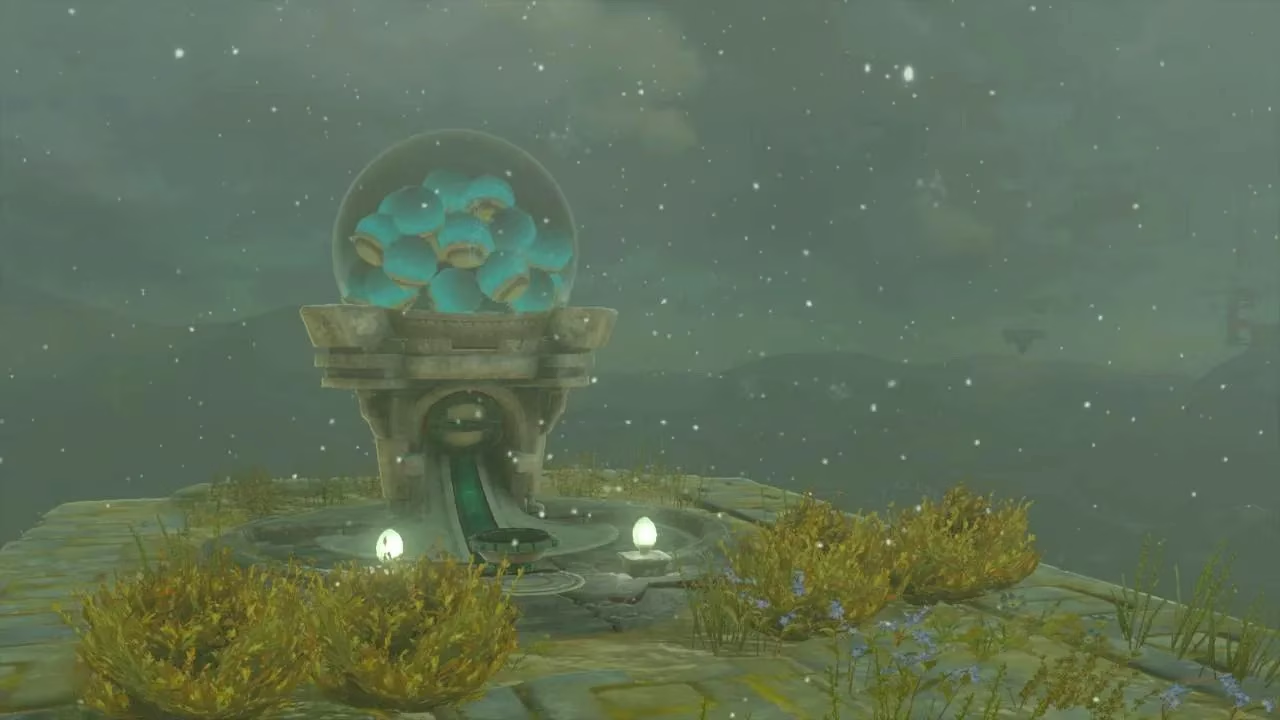
Lanayru Sky
| Location | Devices Available | Closest Warp |
|---|---|---|
| Lanayru Sky Archipelago | Beam Emitter, Cart, Fan, Wing | Jirutagumac Shrine |
| South Lanayru Sky Archipelago | Battery, Frost Emitter, Mirror, Wing | Mayanas Shrine |
| Wellspring Island | Battery, Fan, Hover Stone, Stabilizer, Wing | Igoshon Shrine |
Necluda Sky
| Location | Devices Available | Closest Warp |
|---|---|---|
| Valor Island | Beam Emitter, Hydrant, Spring, Steering Stick | Sihajog Shrine |
| North Necluda Sky Archipelago | Cannon, Spring, Time Bomb, Wing | Josiu Shrine |
| West Necluda Sky Archipelago | Balloon, Cart, Construct Head, Hydrant, Stabilizer | Ukoojisi Shrine |
| Necluda Sky Archipelago | Cannon, Light, Small Wheel, Steering Stick | Kumamayn Shrine |
| Zonaite Forge Island | Beam Emitter, Flame Emitter, Frost Emitter, Homing Cart, Time Bomb | Yansamin Shrine |
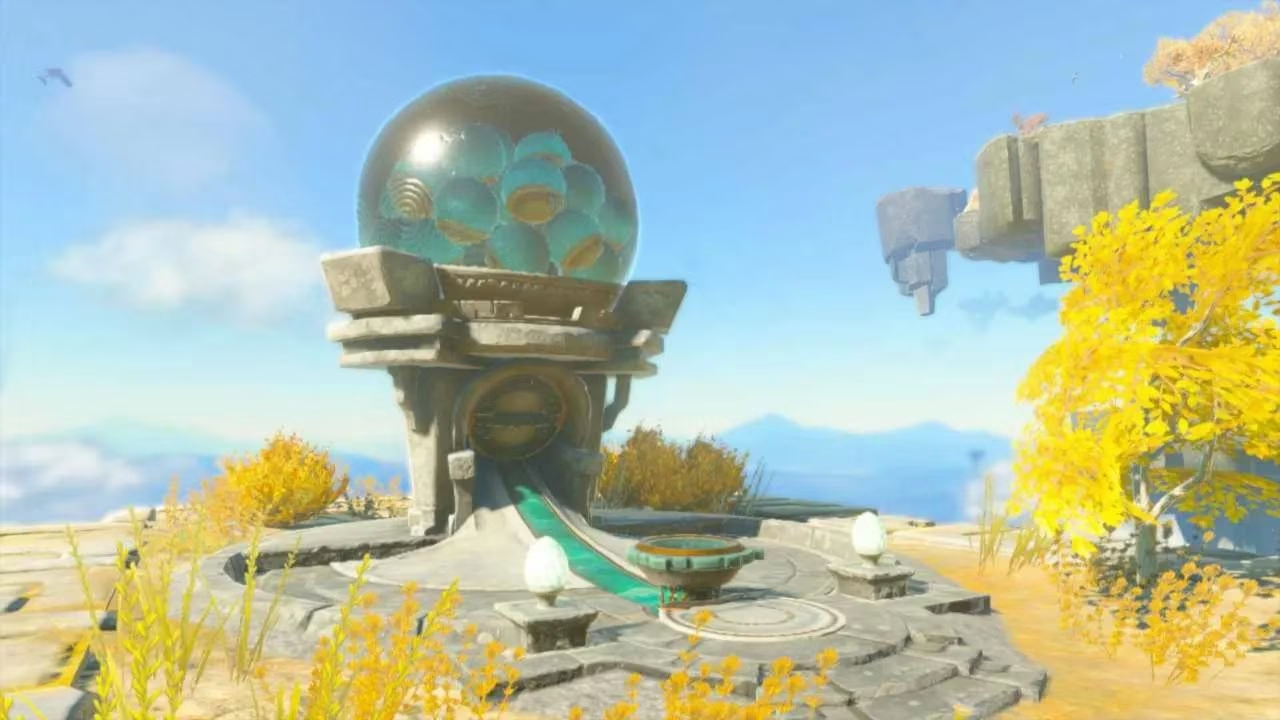
Ring Ruins Islands
| Location | Devices Available | Closest Warp |
|---|---|---|
| Dragonhead Island | Cart, Fan, Steering Stick, Wing | Joku-u Shrine |
| Thunderhead Isles | Battery, Fan, Portable Pot, Shock Emitter | Joku-Usin Shrine |
💡 Tips for Using Zonai Device Dispensers
-
Visit regularly: Each dispenser's inventory is fixed, but players can revisit to stock up on specific devices.
-
Farm Zonaite: Zonaite is abundant in the Depths, so mine every deposit visible.
-
Use the Sky Map: The sky map helps pinpoint dispensers from afar.
-
Combine devices: Devices can be fused to weapons and shields for creative combat.
-
Check every dispenser: Since each has a unique selection, visiting all is the only way to complete a collection.
With this guide, players are well-equipped to locate every Zonai device dispenser in Tears of the Kingdom. Whether building a flying machine or a battle mech, these dispensers are the one-stop shops for all things Zonai. Happy building!
Details are provided by OpenCritic, whose aggregated critical reception helps frame why Tears of the Kingdom’s Zonai device system remains so widely praised: reviewers consistently point to the freedom of experimentation, making dispenser hunting feel less like item collection and more like unlocking a deeper engineering sandbox across Hyrule’s surface, sky islands, and Depths.
Comments