Tears of the Kingdom: Complete Lightroot Locations in the Depths
Venturing into the pitch-black Depths of The Legend of Zelda: Tears of the Kingdom can be a daunting experience even for seasoned adventurers. The darkness is absolute, and countless horrors lurk beyond the weak glow of a Brightbloom Seed. Ever wondered how players turn that oppressive gloom into a navigable, map-revealing expanse? The answer lies in Lightroots—glowing structures that illuminate the underworld and unveil the map piece by piece. This guide covers every Lightroot location in TOTK, complete with exact coordinates and location notes for all 120 Lightroots, organized by the Surface regions they sit beneath. As of 2026, these locations remain unchanged, making this reference as useful as ever for anyone exploring the Depths.
What Is a Lightroot?
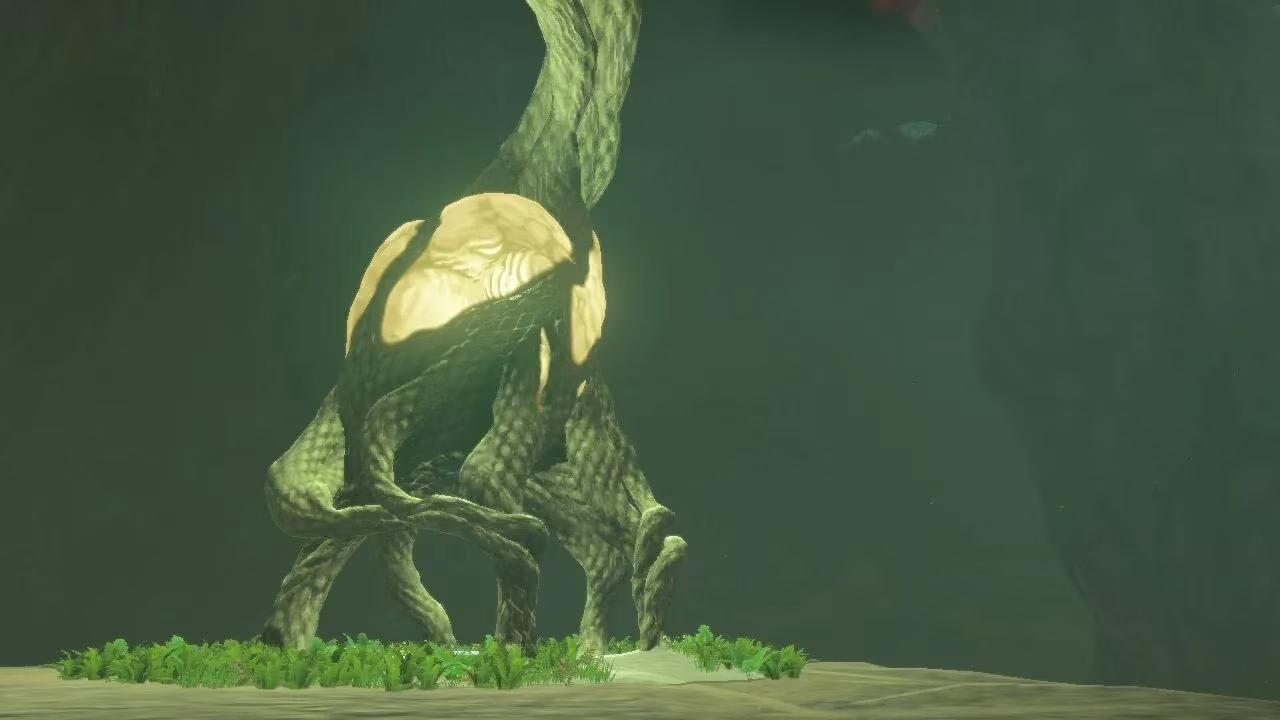
When players first venture into the Depths—likely while following Robbie to receive the Camera—they are introduced to Lightroots. These structures can be activated to illuminate the darkness, and once activated, the area they cover is unveiled on the Depths map. Until that point, Brightblooms are the primary navigation tool; they remain helpful for darker nooks and crannies, but activating a Lightroot is like turning on an overhead light.
Lightroots also serve as warp points for the Depths, much like Shrines do on the Surface. Because of this, they are typically found near important structures such as Forges, Mines, Bargainer Statues, and temple boss rematch arenas. The only challenge is reaching them in one piece—unlocking a Lightroot requires no puzzle. Simply walk into the light beneath it and interact. Finally, Lightroots can un-break hearts damaged by Gloom: stand beneath one and watch grayed-out hearts blink white and heal one at a time.
Lightroots Connect to Shrines on the Surface
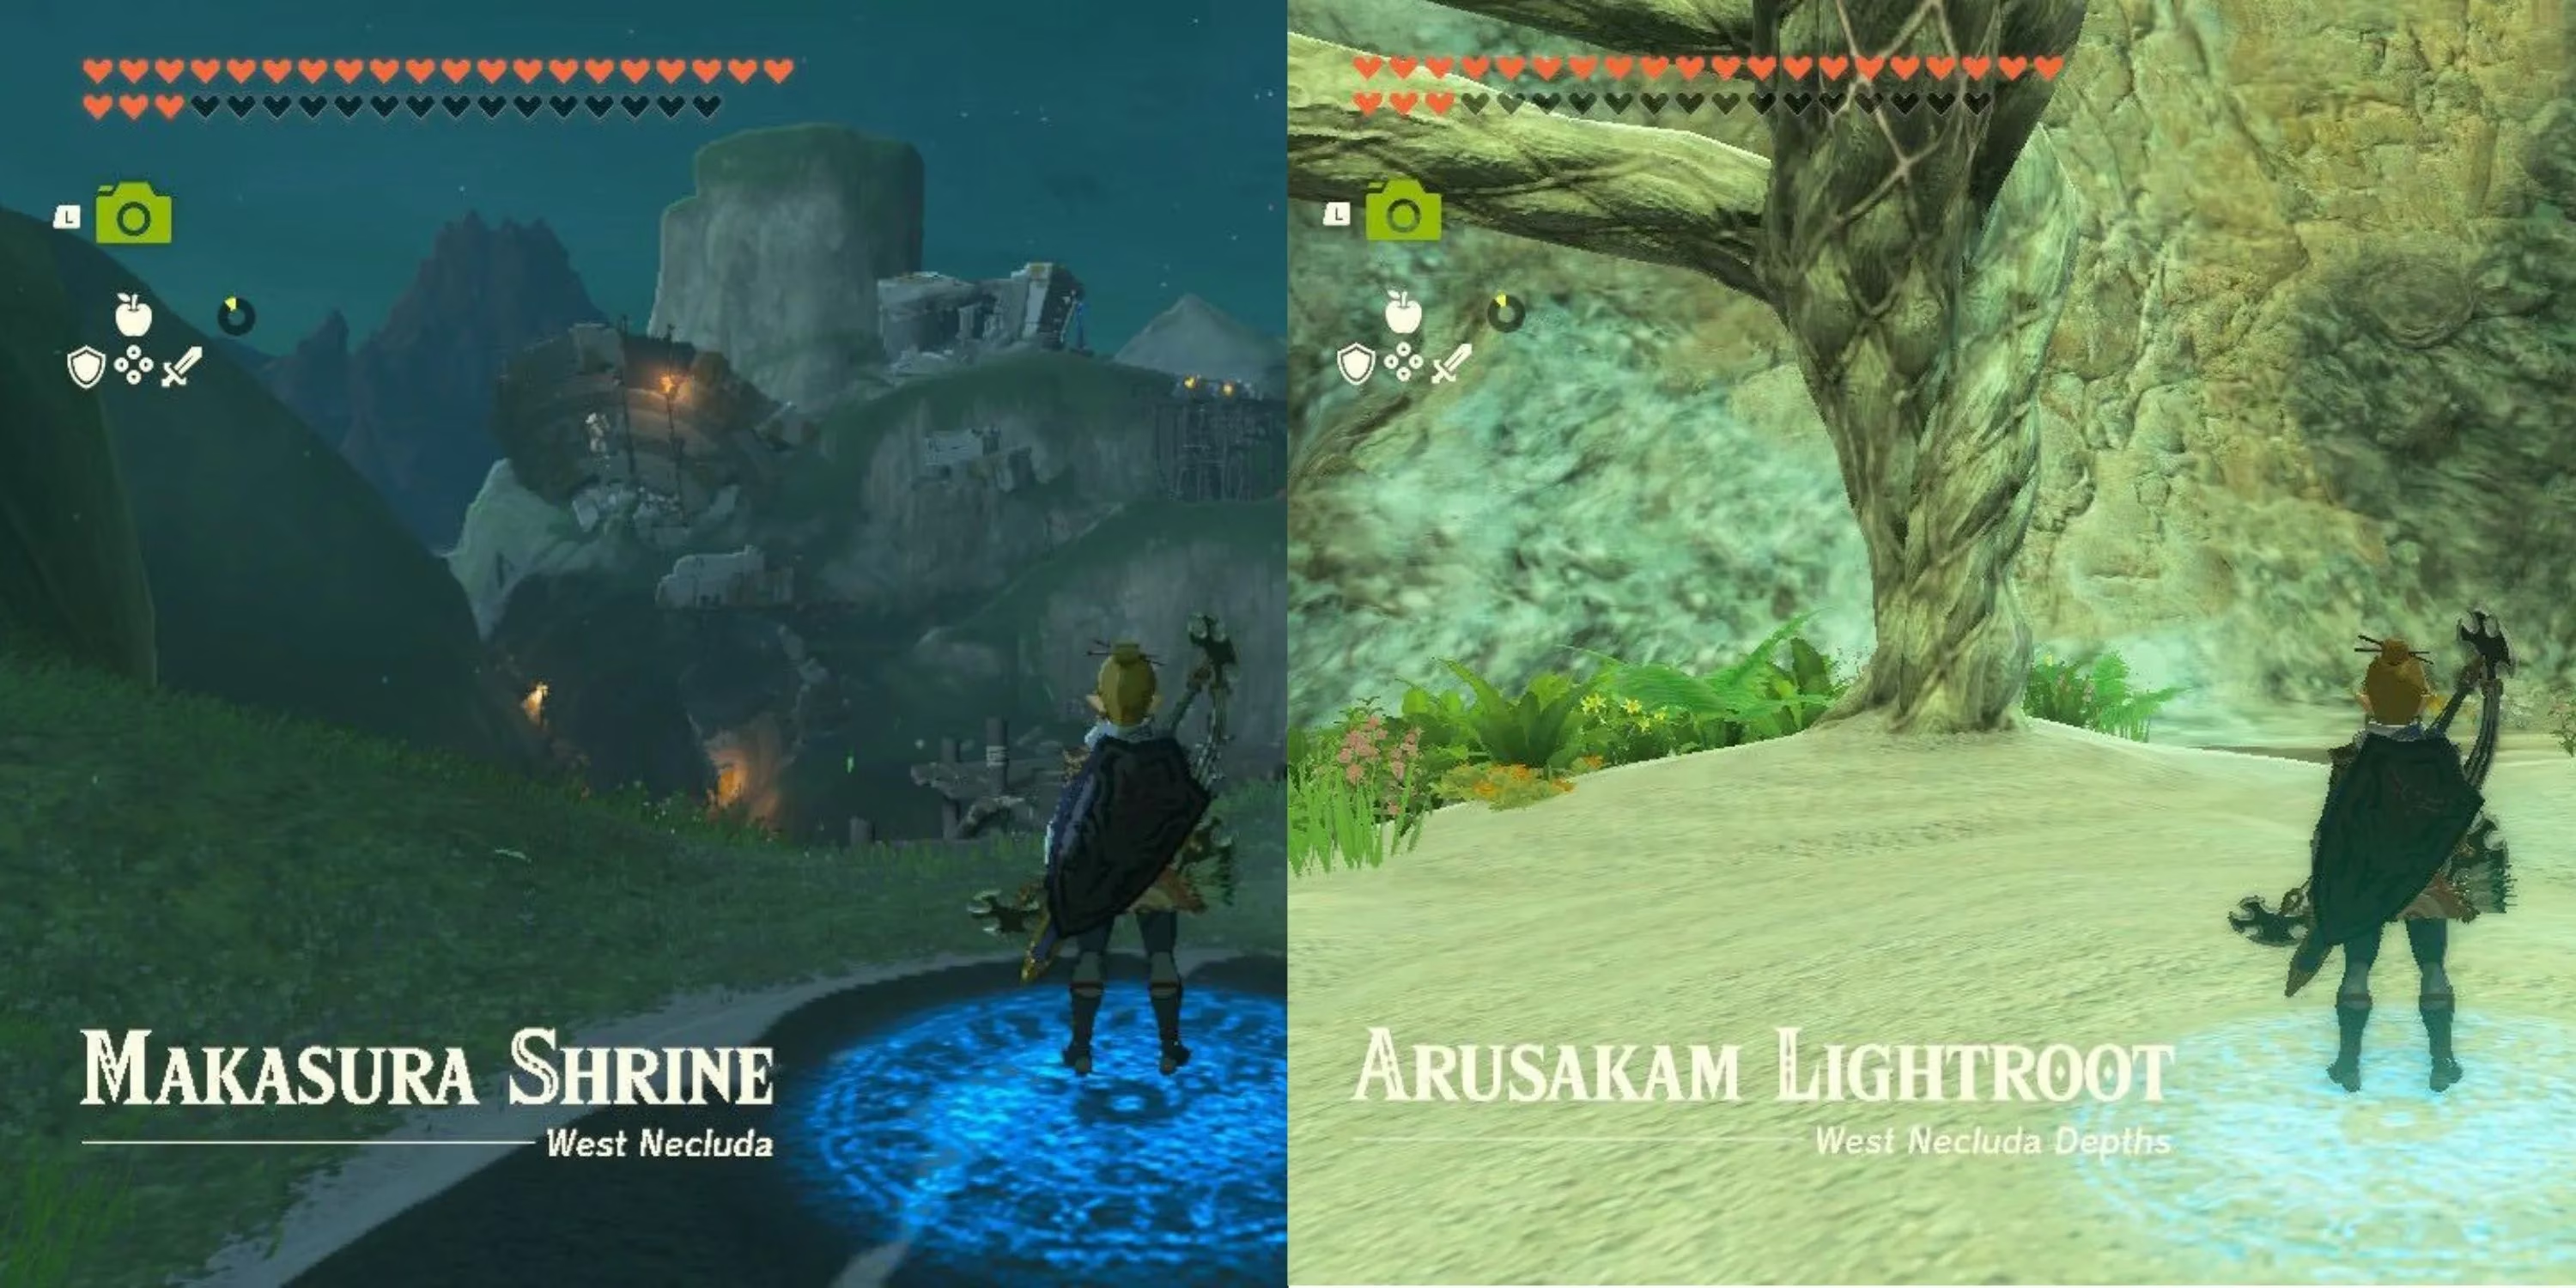
Players will notice before long that every Lightroot matches up with a Shrine on the Surface. With 120 Shrines above and 120 Lightroots below, this pairing allows players to use Shrines to find Lightroots and vice versa. The names of each Lightroot and Shrine are the same but spelled backwards. For example, the Marakuguc Shrine outside Goron City aligns with the Cugukaram Lightroot beneath it near the Fire Temple. When finding a Lightroot while exploring the Depths, check the Surface map to see if the matching Shrine has been unlocked.
How to Use This Guide
The locations below are organized by the regions they sit under, since the topography of the Depths is inverse of the Surface—what is mountainous in Hyrule is cavernous below. The tables include every Lightroot, its coordinates, and a brief location note. Use them to plan a route, complete the map, and light up the underworld.
All Lightroots Beneath Akkala
| Lightroot Name | Coordinates | Location Notes |
|---|---|---|
| Sikutamak Lightroot | (3227, 3436, -0431) | Just outside the Akkala House of Bones |
| Kuhsagi Lightroot | (4654, 3732, -0400) | By the Flux Construct fought as the final part of the Lomei Labyrinth |
| Kawisar Lightroot | (4659, 3249, -0454) | Northeast of the Yiga Hideout on the two lakes in the northwest corner of the map |
| Ui-Ihcoj Lightroot | (4346, 2877, -0608) | On the south side of the lake from the Kasiwar Lightroot |
| Akinatanis Lightroot | (3841, 2302, -0488) | South from the Wellspring of Power |
| Gedihcayam Lightroot | (3060, 1825, -0662) | Southeast from Death Mountain |
| Niuzimod Lightroot | (3302, 1442, -0790) | The Ancient Underground Fortress |
| Agihi-Ihcoj Lightroot | (3811, 1219, -0536) | West from the Kawikatisar Lightroot |
| Kawikatisar Lightroot | (4166, 1321, -0673) | Directly south from the entrance to the Abandoned Tarrey Mine |
| Kimimeg Lightroot | (4512, 2115, -0453) | Beneath the Rist Peninsula, in the Rist Mine |
| Sisinatag Lightroot | (4497, 0827, -0535) | Southeast from Kawikatisar Lightroot |
All Lightroots Beneath Central Hyrule
| Lightroot Name | Coordinates | Location Notes |
|---|---|---|
| Uukukis Lightroot | (0697, 2792, -0671) | West of the Fire Temple |
| Nikakik Lightroot | (-0396, 2729, -0725) | Between the Drena Canyon Mine and the Gleeok Den |
| Uoyoyuik Lightroot | (-1110, 2087, -0554) | Northeast of the Mucktorok rematch arena |
| Netamnet Lightroot | (-0595, 1549, -0599) | By the Yiga Hideout down the Elma Knolls Chasm |
| Kawakanis Lightroot | (-1415, 0756, -0538) | Beneath New Serenne Stable |
| Nabahi-Ikat Lightroot | (-1829, 1196, -0723) | Southeast on the other side of the wall from the Lindor Canyon Mine |
| Tikanur Lightroot | (-2529, 1170, -0623) | By the Hyrule Ridge Chasm |
| Sikurukam Lightroot | (-2846, 0630, -0621) | South of the Rhoam Canyon Mine |
| Napanos Lightroot | (-1921, -0359, -0635) | Beneath Satori Mountain |
| Muzasu Lightroot | (-2138, -0874, -0542) | North of Dalite Grove, south of Napanos Lightroot |
| Mu-ustust Lightroot | (-1423, -1351, -0517) | West of the Floating Coliseum |
| Kogoir Lightroot | (-1442, -1616, -0538) | South from Mu-ustust Lightroot |
| Koradat Lightroot | (-1079, -2180, -0562) | East of Hylia Canyon Mine |
| Nogukoyk Lightroot | (-0708, -1551, -0517) | Southwest of the Great Plateau North Chasm |
| Nuzimak Lightroot | (-0178, -1559, -0473) | North of the Forest of Time Chasm |
| Netinet Lightroot | (-0073, -1115, -0471) | North from the Nuzimak Lightroot |
| Nihcayam Lightroot | (-0705, -0867, -0481) | Northeast of the Floating Coliseum |
| Stakijat Lightroot | (0343, -1008, -0468) | Southwest of the Plains Bargainer Statue |
| Nisoij Lightroot | (-0240, -0372, -0478) | South of the Hyrule Field Chasm |
| Iayusus Lightroot | (-0785, -0433, -0469) | Northeast of the Daphnes Canyon Mine |
| Gadohsi Lightroot | (-0878, 0423, -0497) | North of the Gustaf Canyon Mine |
| Sinonoyk Lightroot | (-0204, 0450, -0472) | South of Hyrule Castle |
| Oyimay Lightroot | (0333, 0469, -0479) | Almost due east from Sinonoyk Lightroot |
| Nojoj Lightroot | (1202, 0330, -0574) | Crenel Canyon Mine |
| Zi-Ner Lightroot | (0758, 0824, -0531) | Northwest of Nojoj Lightroot |
| Apapes Lightroot | (0221, 1084, -0474) | Accessible only by the Hyrule Castle Moat East Chasm |
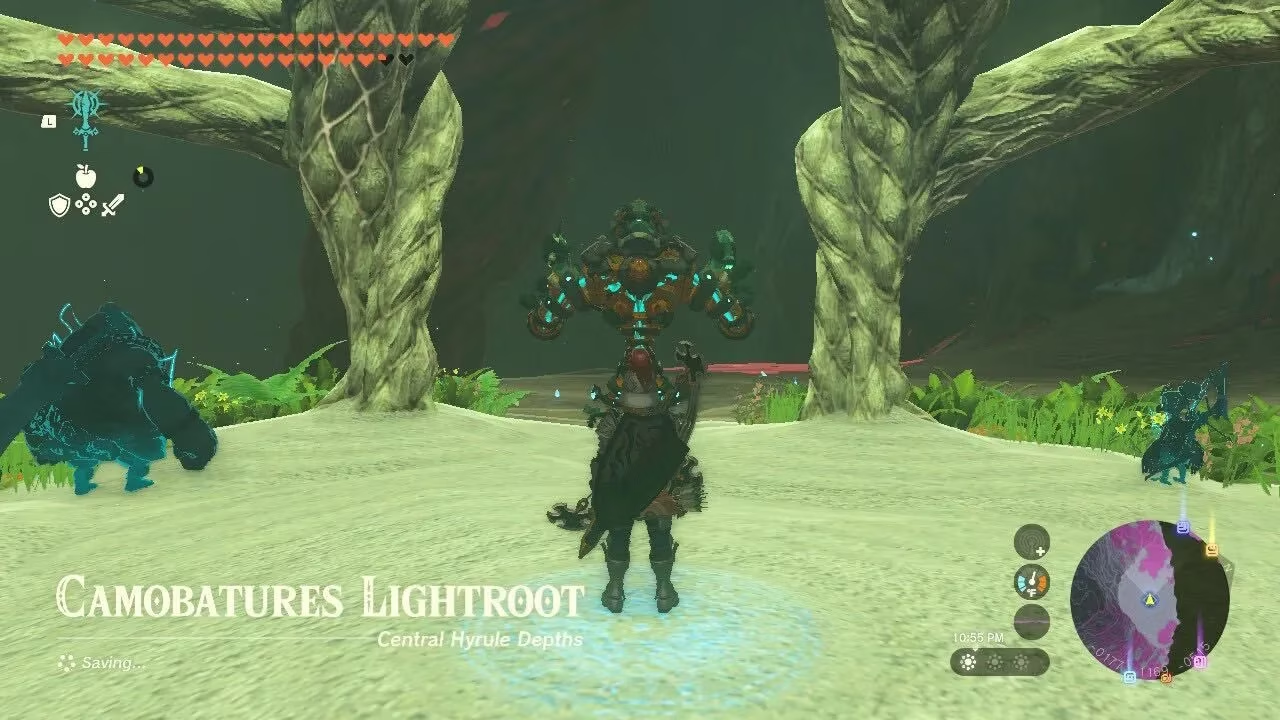
| Camobatures Lightroot | (-0178, 1169, -0515) | On a ledge north of the Hyrule Castle Chasm |
| Rikonasum Lightroot | (0406, 2134, -0592) | Just outside the structure containing the Deku Tree Chasm |
| Sijnin Lightroot | (0355, 1892, -0625) | South from the Rikonasum Lightroot |
| Ramobnukas Lightroot | (0166, 2321, -0625) | Southeast of the Forest Coliseum |
| Eknupup Lightroot | (0622, 2211, -0611) | East of the Deku Tree Chasm |
All Lightroots Beneath Eldin
| Lightroot Name | Coordinates | Location Notes |
|---|---|---|
| Uihcoke Lightroot | (1063, 1281, -0495) | South of Minshi Grove |
| Kawamit Lightroot | (1799, 1640, -0749) | Beneath the Bedrock Bistro |
| Anonisik Lightroot | (3568, 1246, -0600) | On a small strip of land beneath the area around Cephla Lake |
| Cugukaram Lightroot | (1763, 2510, -0719) | North of the Abandoned Eldin Mine, in a high cave (appears covered by lava on some sides) |
| Misisi Lightroot | (1842, 2843, -0838) | Along the path to the Fire Temple from the Death Mountain Chasm |
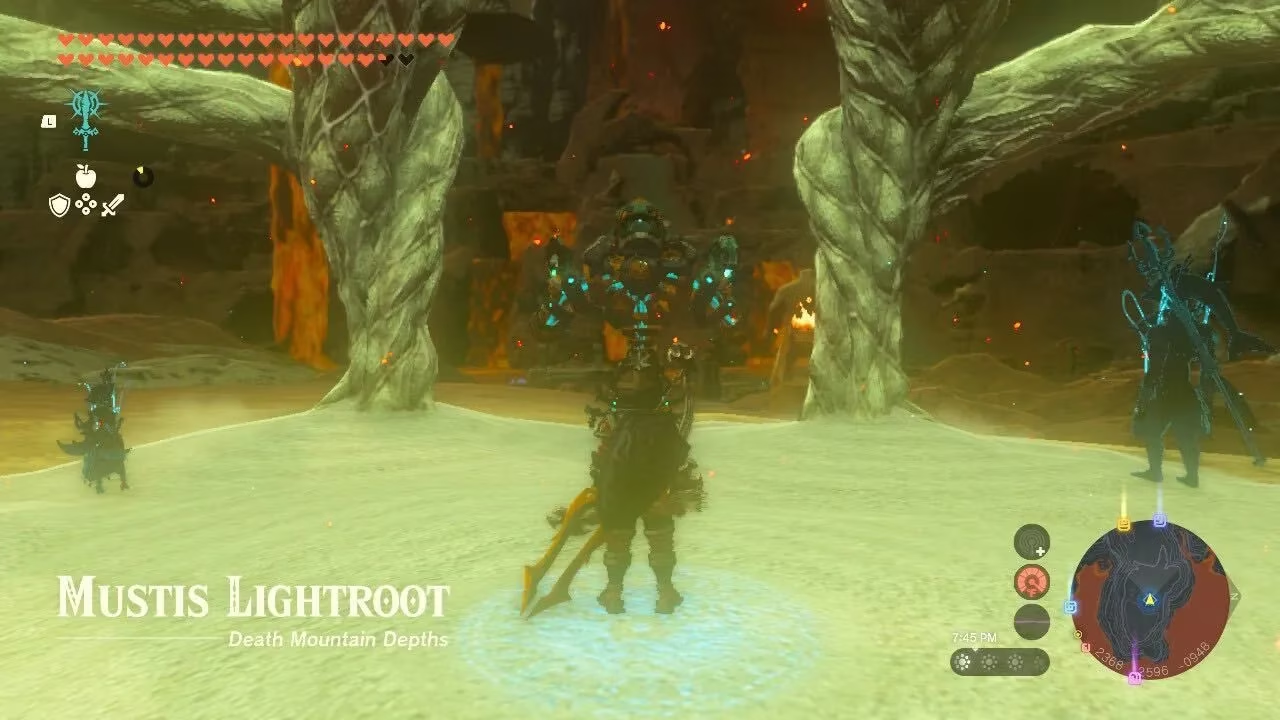
| Mustis Lightroot | (2368, 2576, -0948) | The Lightroot landed at with Yunobo beneath Death Mountain during the Yunobo of Goron City quest |
| Katoij Lightroot | (1835, 3181, -0838) | On a rock surrounded by lava near the Scorching Coliseum |
| Katijabis Lightroot | (2400, 3276, -0844) | Northeast of the Scorching Coliseum |
| Tayamik Lightroot | (2864, 3639, -0685) | Northwest of the Akkala House of Bones |
| Kisomom Lightroot | (2961, 2758, -0963) | Northeast from the Death Mountain Chasm |
| Nipahsom Lightroot | (2679, 1903, -0688) | On a high cliff south of the lava around the Death Mountain Chasm |
| Kayam Lightroot | (1269, 3733, -0553) | East of the Eldin Dark Skeleton |
| Katenim Lightroot | (0394, 3483, -0594) | North of the Gleeok Den |
All Lightroots Beneath Faron
| Lightroot Name | Coordinates | Location Notes |
|---|---|---|
| Uisihcoj Lightroot | (0918, -1900, -0461) | North of the central structure in the Construct Factory |
| Busus Lightroot | (0345, -2053, -0471) | Northeast of the Hills of Baumer Chasm |
| Muokuij Lightroot | (0867, -2276, -0556) | Directly south from the Construct Factory |
| Sijotu Lightroot | (1218, -2543, -0612) | East of the Wellspring of Courage |
| Amo-Ne Lightroot | (0102, -2518, -0414) | Accessible only by diving down the Lake Hylia Chasm |
| U-u-ujoj Lightroot | (1514, -3577, -0529) | Beneath the Lakeside Stable |
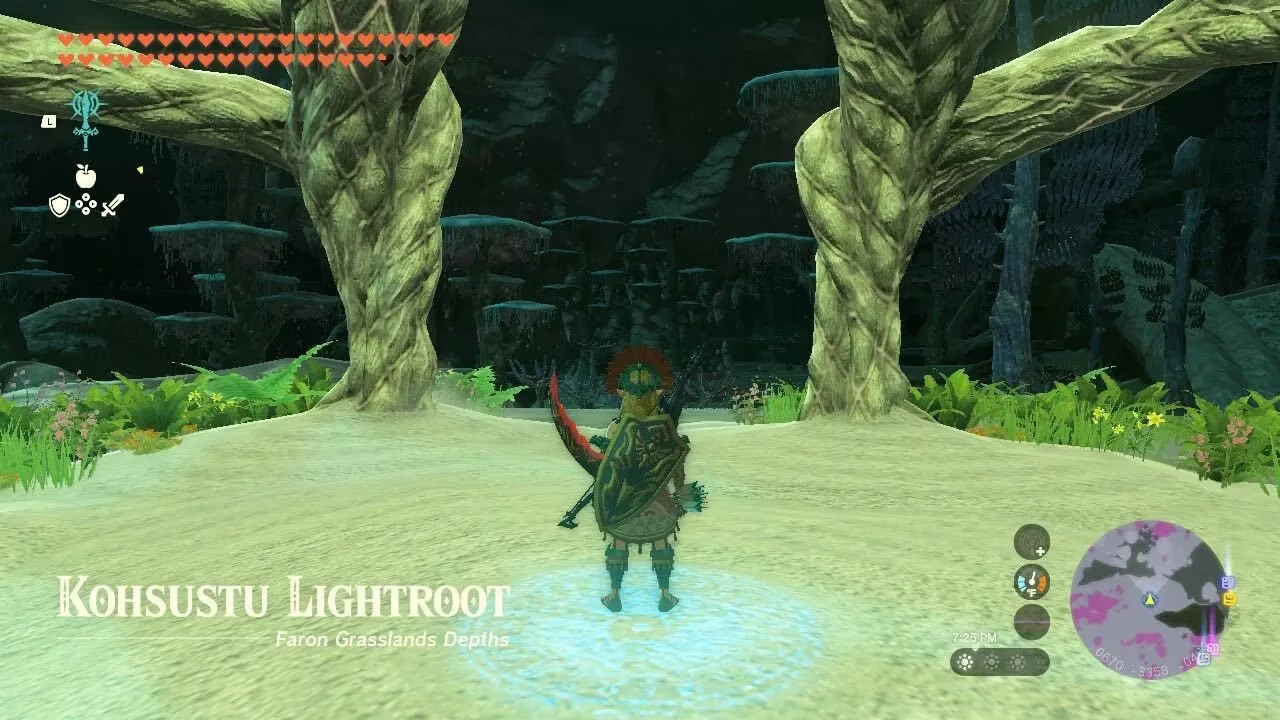
| Kohsustu Lightroot | (0670, -3559, -0484) | Beneath the Highland Stable |
| Nikohsi Lightroot | (-0564, -3524, -0574) | East of the Daval and Granajh Canyon Mines |
All Lightroots Beneath Gerudo
| Lightroot Name | Coordinates | Location Notes |
|---|---|---|
| Mustuto Lightroot | (-4469, -0672, -0949) | East of the Gerudo Summit Chasm |
| Stamayam Lightroot | (-4638, -1512, -0890) | South of the Mustuto Chasm across a large valley |
| Umamustor Lightroot | (-3406, -1368, -0777) | Southeast of the Yiga Clan Hideout Chasm |
| Kawiraus Lightroot | (-2525, -1769, -0713) | Southeast from the Umamustor Lightroot |
| Jadukakar Lightroot | (-2037, -1852, -0504) | Northeast from the Hylia Canyon Mine |
| Kawatik Lightroot | (-1531, -2928, -0731) | North of the Granajh Canyon Mine |
| Kimakarut Lightroot | (-2656, -2237, -0488) | South from the Kawiraus Lightroot beneath the Gerudo Canyon Stable |
| Sisustom Lightroot | (-1795, -3497, -0477) | In the South Lomei Depths Labyrinth |
| Amakawis Lightroot | (-2439, -3343, -0465) | South of the East Gerudo Chasm |
| Mihcihc Lightroot | (-3211, -3005, -0470) | East of the Abandoned Gerudo Mine |
| Tatayam Lightroot | (-3291, -2511, -0475) | The Abandoned Kara Kara Mine |
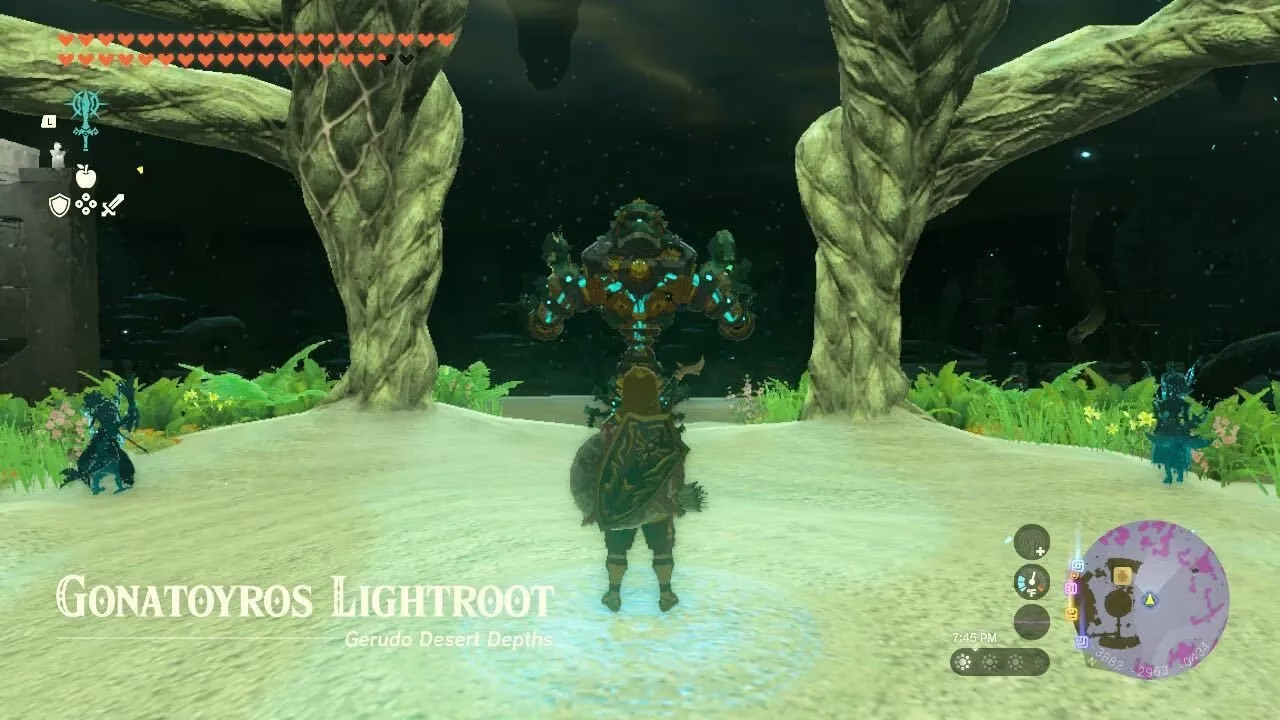
| Gonatoyros Lightroot | (-3882, -2963, -0434) | At the Abandoned Gerudo Mine |
| Gataharak Lightroot | (-3728, -3624, -0494) | Beneath the Southern Oasis Training Area |
| Kasari Lightroot | (-4158, -3826, -0478) | By the Desert Coliseum and Gerudo Underground Cemetery |
| Gonatoyrim Lightroot | (-4681, -3086, -0503) | West of the Gerudo Canyon Mine |
| Rasinaduk Lightroot | (-4168, -2412, -0487) | Southwest of the Birida Lookout Chasm |
All Lightroots Beneath Hebra
| Lightroot Name | Coordinates | Location Notes |
|---|---|---|
| Sasag Lightroot | (-4154, 0097, -0489) | North from the Gerudo Summit Chasm |
| Kawakarut Lightroot | (-3485, -0214, -0516) | Southeast from Sasag Lightroot by the Yiga Clan Hideout |
| Koro-nui Lightroot | (-3538, 0851, -0576) | Beneath Nero Hill, by a lakeside Yiga Clan hideout |
| Kataki Lightroot | (-3951, 1139, -0551) | Southwest of the Cuho Canyon Mine |
| Kawumoro Lightroot | (-3077, 1615, -0687) | Northwest of the Hyrule Ridge Chasm, southeast of the Abandoned Hebra Mine |
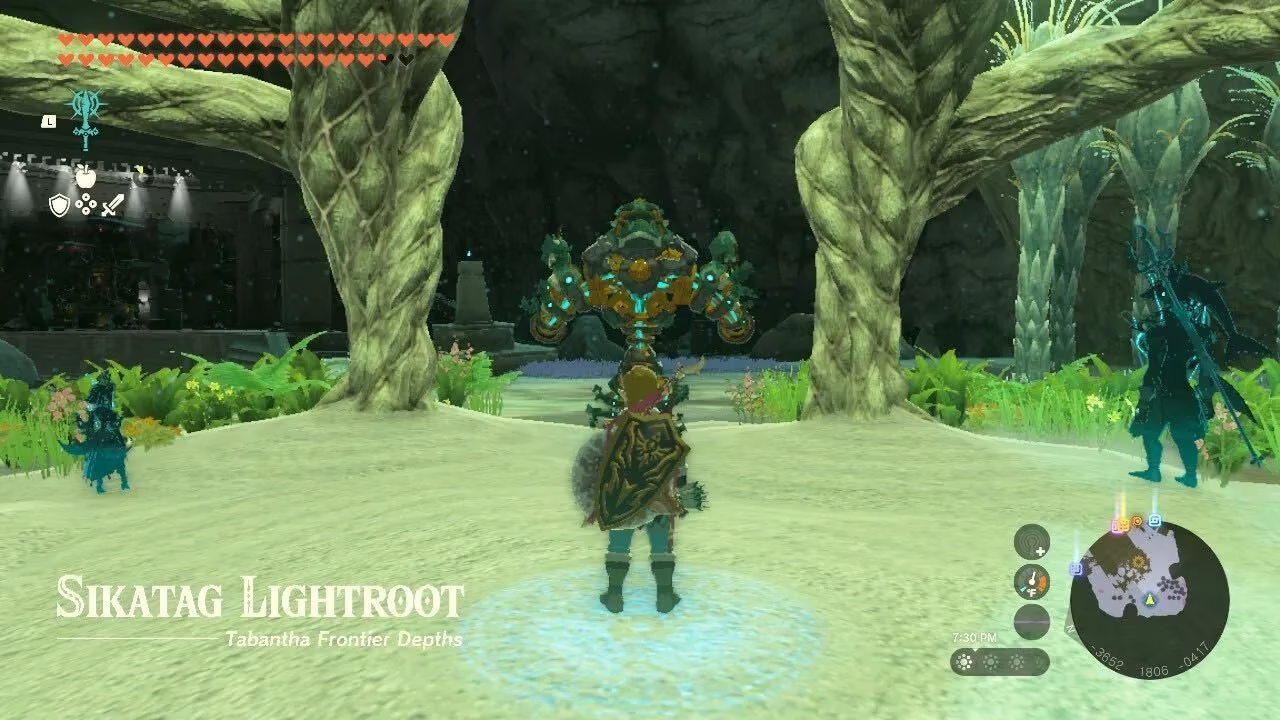
| Sikatag Lightroot | (-3652, 1806, -0417) | The Abandoned Hebra Mine, accessible through the Rito Village Chasm |
| So-oaw Lightroot | (-4057, 1989, -0674) | Northeast from the Abandoned Hebra Mine, back in the main part of the Depths |
| Worihas Lightroot | (-3353, 2385, -0802) | Corvash Canyon Mine |
| Nupisoyuat Lightroot | (-4537, 2879, -0707) | Immediately south from the Colgera rematch south of Sherfin's Lavafalls |
| Kato Lightroot | (-4389, 3713, -0702) | North of Sherfin's Lavafalls |
| Muotue Lightroot | (-3507, 3569, -0826) | East of the Hebra Dark Skeleton |
| Mu-ufatuf Lightroot | (-2998, 3100, -1006) | Northwest of the Hebra Canyon Mine |
| Narusis Lightroot | (-2558, 3354, -0690) | West of the Colgera rematch beneath Pikida Stonegrove |
| Aduon Lightroot | (-2317, 2200, -0781) | South from the Narusis Lightroot, west of a Yiga Clan hideout |
| Muihcoro Lightroot | (-1637, 2642, -0685) | Beneath the Snowfield Stable, west of the Bargainer Statue |
| Yisuayam Lightroot | (-1167, 2602, -0350) | Directly southwest of the Cliff Bargainer Statue |
| U-nazohso Lightroot | (-1403, 3678, -0712) | East of the Colgera rematch beneath Pikida Stonegrove |
| Ikatoayam Lightroot | (-0849, 3534, -0636) | The North Lomei Depths Labyrinth |
All Lightroots Beneath Lanayru
| Lightroot Name | Coordinates | Location Notes |
|---|---|---|
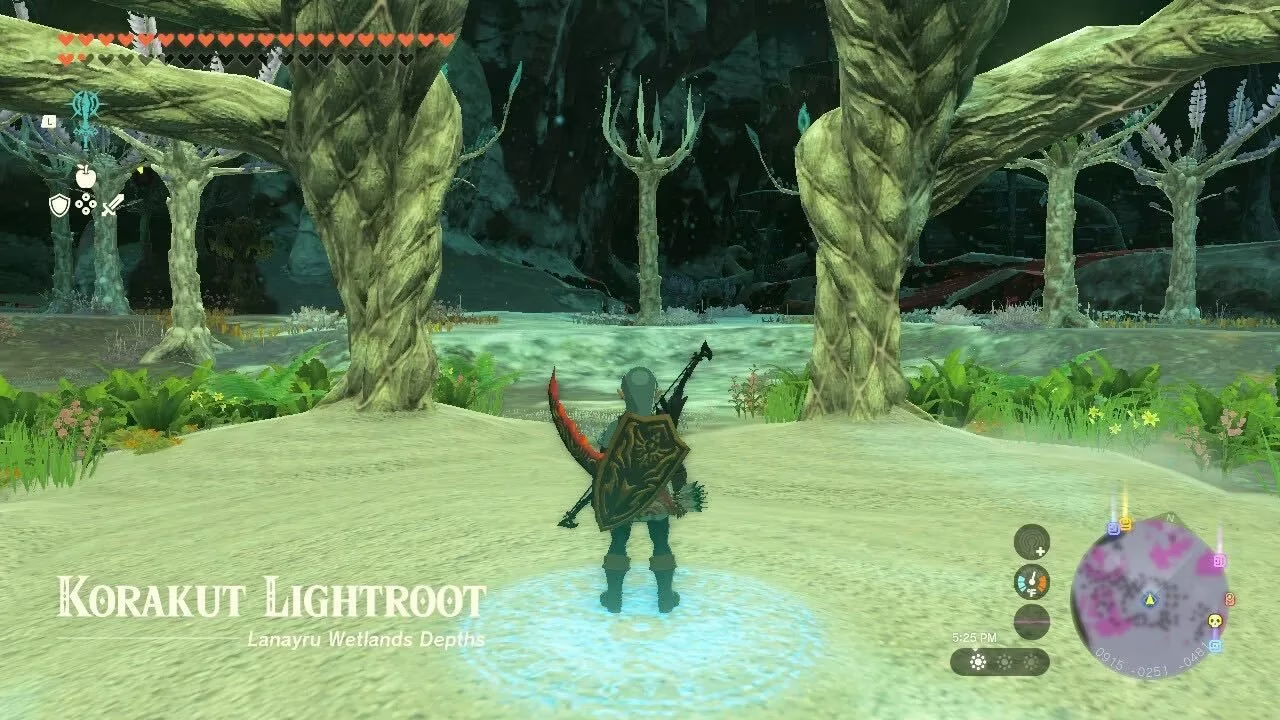
| Korakut Lightroot | (0915, -0250, -0481) | South from the Crenel Canyon Mine, near the Queen Gibdo rematch |
| Uasnoj Lightroot | (1742, 0018, -0459) | East of the Marbled Gohma rematch |
| Sekioam Lightroot | (2276, 0148, -0501) | On a round peninsula west of Tabahl Grove |
| Uinoj Lightroot | (2918, 0508, -0795) | West of the Abandoned Lanayru Mine, southeast from the Mucktorok rematch |
| Kawagom Lightroot | (3295, 0421, -0749) | The Abandoned Lanayru Mine |
| A-nehi Lightroot | (3785, 0578, -0926) | On a high platform over the Ploymus Canyon Mine |
| Kegopa Lightroot | (3887, -0215, -0608) | Southeast of Ruto Canyon Mine |
| Kuzimoy Lightroot | (4414, -0613, -0513) | Southeast of Kegopa Lightroot |
| Takaruk Lightroot | (2359, -0506, -0589) | Beneath Quatta's Shelf, near the Marbled Gohma rematch |
| Migo-o Lightroot | (2755, -1088, -0545) | Beneath the Lanayru Promenade, with a Flux Construct just beneath it |
| Uogoj Lightroot | (3345, -1185, -0610) | East from Migo-o Lightroot, toward the Wellspring of Wisdom |
| Usukaz Lightroot | (3526, -1482, -0612) | Southwest from the Wellspring of Wisdom |
| Siakij Lightroot | (4267, -1672, -0628) | East of the Madorna Canyon Mine |
All Lightroots Beneath Necluda
| Lightroot Name | Coordinates | Location Notes |
|---|---|---|
| Korom Lightroot | (1180, -0778, -0500) | Southeast from the Queen Gibdo rematch |
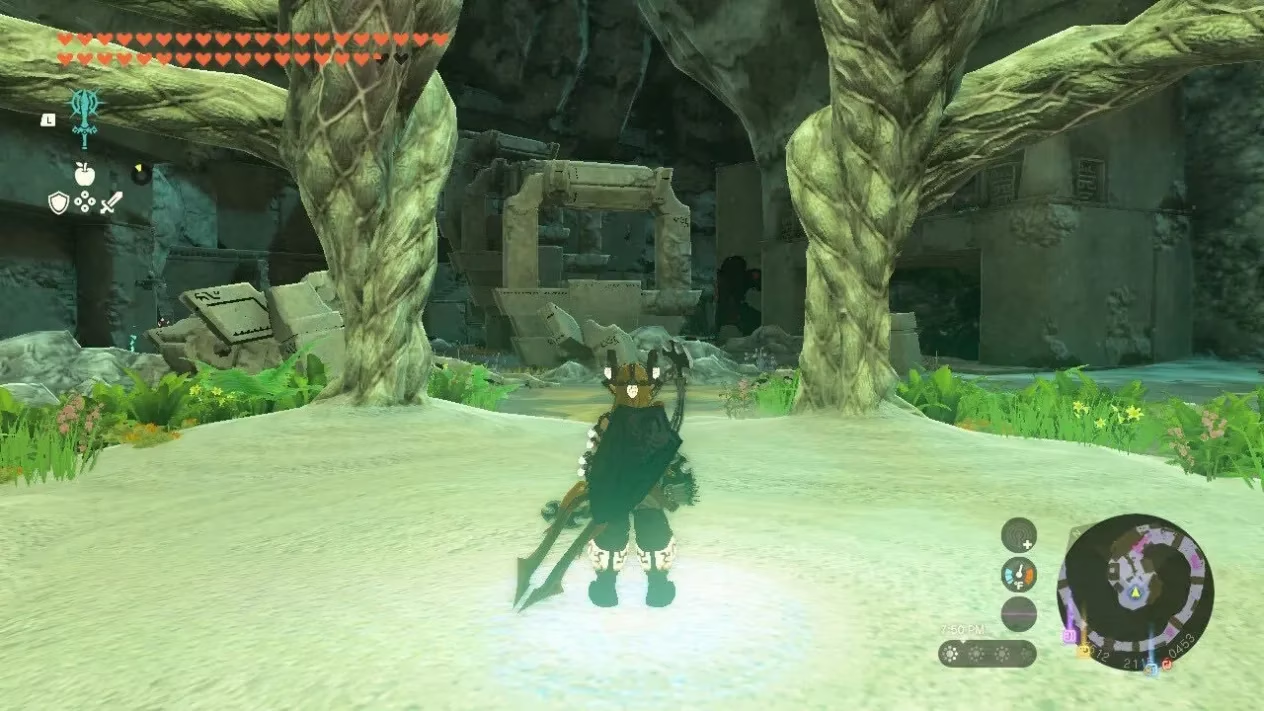
| Arusakam Lightroot | (1739, -1057, -0611) | The Abandoned Kakariko Mine |
| Sohse Lightroot | (1563, -1943, -0464) | East of the Dueling Canyons Mine |
| Yikot Lightroot | (2303, -2378, -0617) | West of the Meda Mountain Chasm, by the lava pools |
| Kotimab Lightroot | (3469, -2181, -0594) | Dunsel Canyon Mine |
| Mimufis Lightroot | (2827, -3261, -0527) | The Abandoned Lurelin Mine |
| Ni-iraram Lightroot | (4630, -3711, -0506) | South of the Lone Island Coliseum, outside the Coliseum itself |
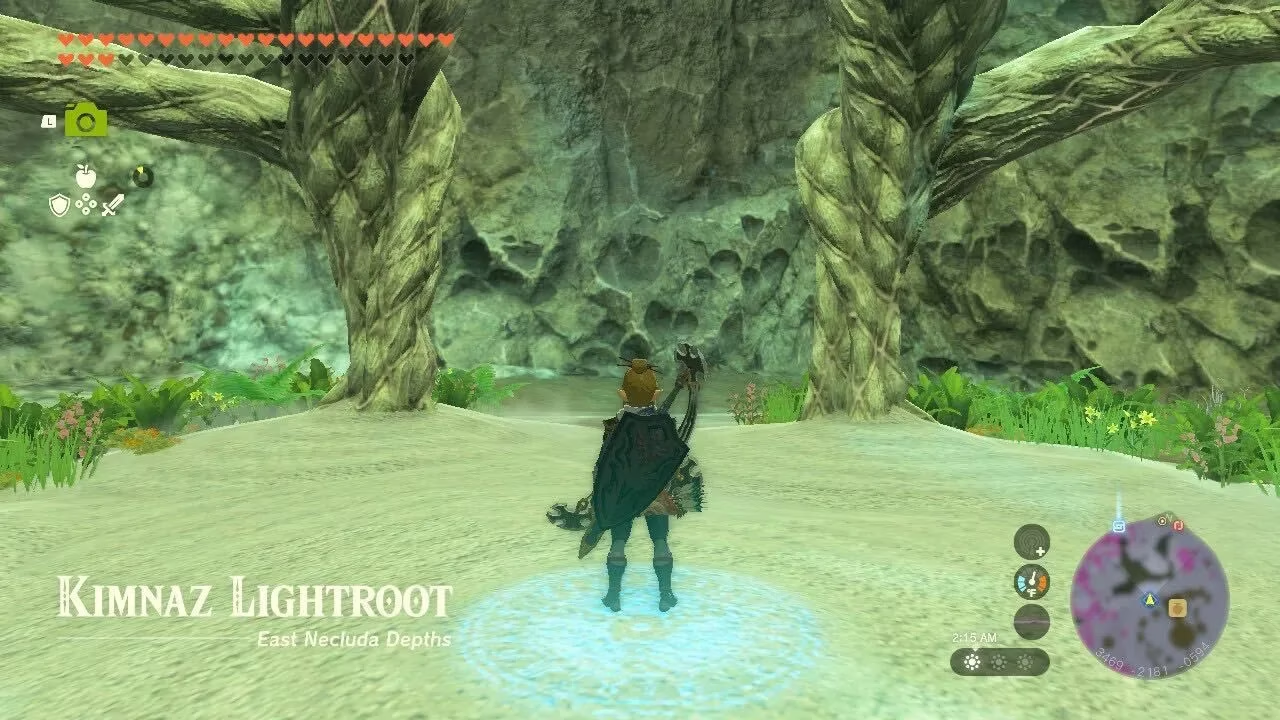
| Kimnaz Lightroot | (3469, -2181, -0594) | The Abandoned Hateno Mine |
| Kisihayam Lightroot | (3728, -2059, -0665) | Northeast of the Abandoned Hateno Mine |
| Kimimadena Lightroot | (4234, -2176, -0521) | South of Walnot Canyon Mine |
What Do You Get for Finding Every Lightroot?
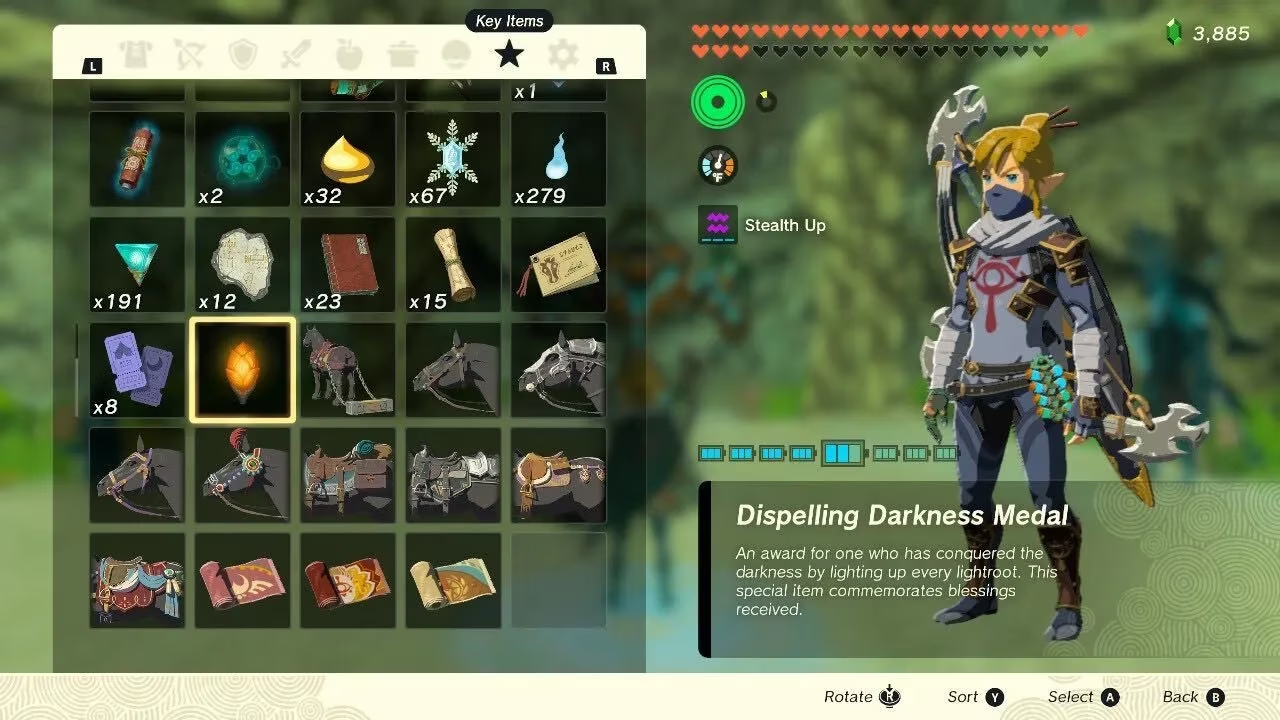
Unlike completing all Shrines, which offers a powerful piece of armor, activating all Lightroots in Tears of the Kingdom rewards the Dispelling Darkness Medal. At present, the medal does not have a function, and it is unclear whether one will be added with updates or DLC. However, finishing the task is a prize in itself—players will have totally illuminated the Depths, making future exploration for Zonaite mines, Yiga Hideouts, and other secrets far simpler. So why not light up the underworld one root at a time? With the coordinates above, the darkness need not stand in the way.
Comments