How I Finally Solved the Tricky Jiukoum Shrine in Tears of the Kingdom
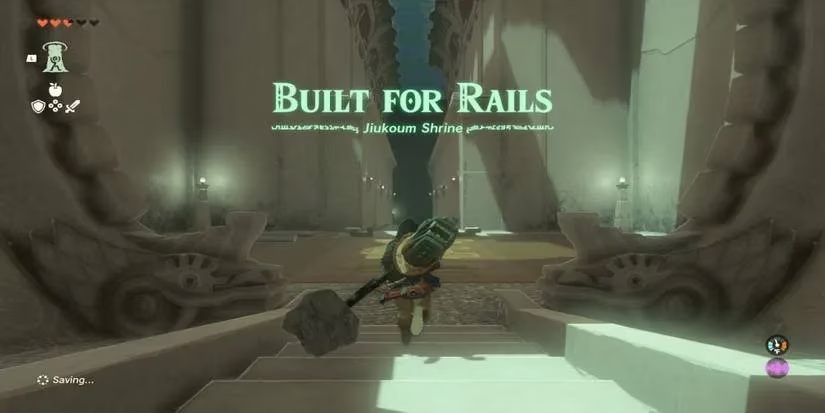
I still remember the first time I stumbled into the Jiukoum Shrine back when Tears of the Kingdom was brand new. Now, in 2026, I’m revisiting Hyrule and watching newer players face the same head‑scratching moments I did. This shrine is one of those that makes you question every building instinct you’ve developed. It’s not the longest—just three main sections—but boy, can it mess with your head.
Let me walk you through how I eventually cracked it, and maybe save you the hour of trial and error I spent. 🔧
Finding the Shrine: A Scenic Hike Gone Wrong
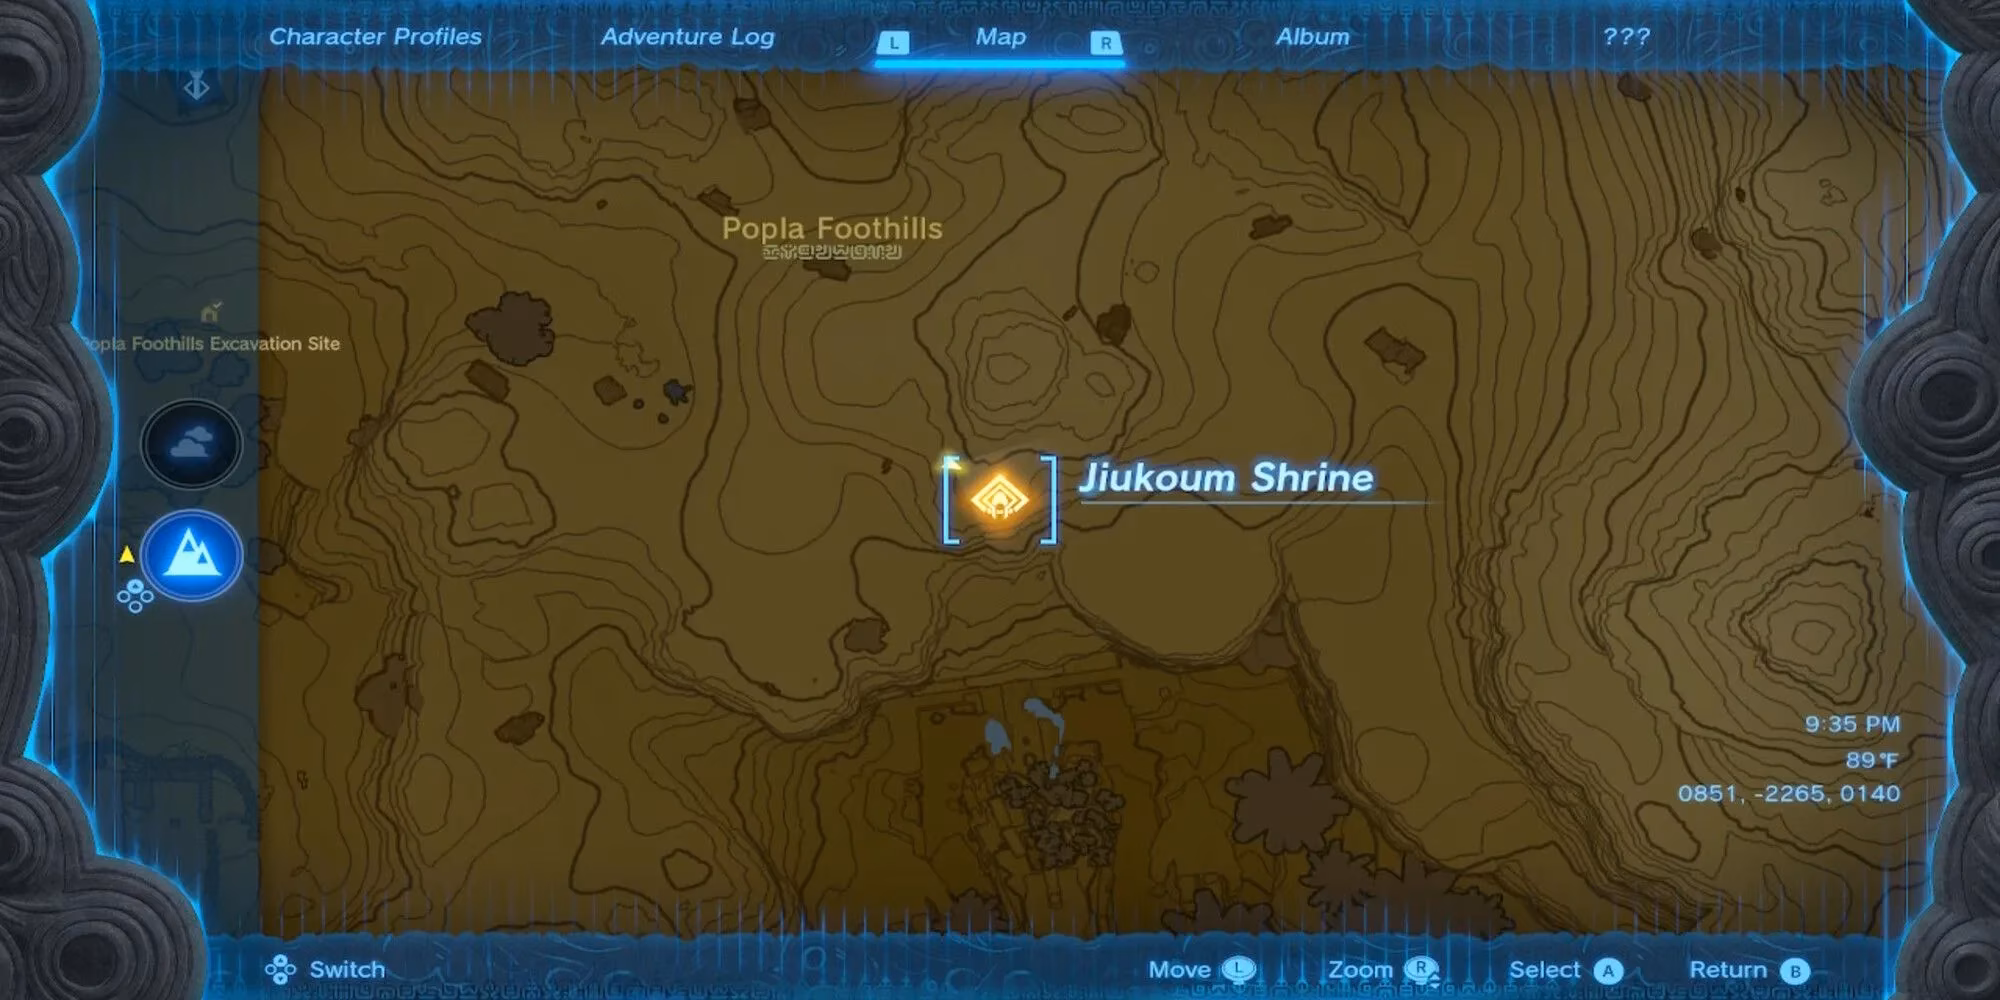
The Jiukoum Shrine sits in the Faron Grasslands, southeast of the Popla Foothills Skyview Tower. I glided down from the tower, expecting a straightforward cave entrance, but the shrine is perched high on the Popla Foothills themselves. The moment you get close, the shrine telepathy kicks in and the waypoint unlocks—so no need to squint at every rock from a mile away. The exact coordinates are 0867, -2279, 01141. If you’re like me, you’ll overcomplicate the approach. Trust me, just fast‑travel to the tower, leap off, and glide east‑southeast. You’ll spot the glowing orange rings before you hit the ground.
The First Rail: A (Deceptively) Simple Start
The moment you dive inside, the shrine presents you with two square wooden platforms, a straight rail, and a bottomless chasm. I thought, “Piece of cake!” and slapped the squares together side‑by‑side. Then I used Ultrahand to place the joined slab on the rail.
Big mistake—not in the construction, but in the timing. The platforms shoot forward almost instantly, and I missed my jump more times than I care to admit. 😅 The trick is to stand right next to the start of the rail, activate Ultrahand to set the piece down, then immediately hop on. Don’t even think about adjusting your cap; just sprint onto the platform. Once you’re on, it’s a smooth ride over the gap, and you’re on to the real test.
The Curvy Rail: Where Panic Sets In
Section two laughingly throws you three square pieces and a rail that snakes left, then right, over another pit. My first few attempts involved making a long, flat train of squares. I’d build it, set it on the rail, and ride with confidence—only to topple off at the very first curve, plunging into the void. It was maddening.
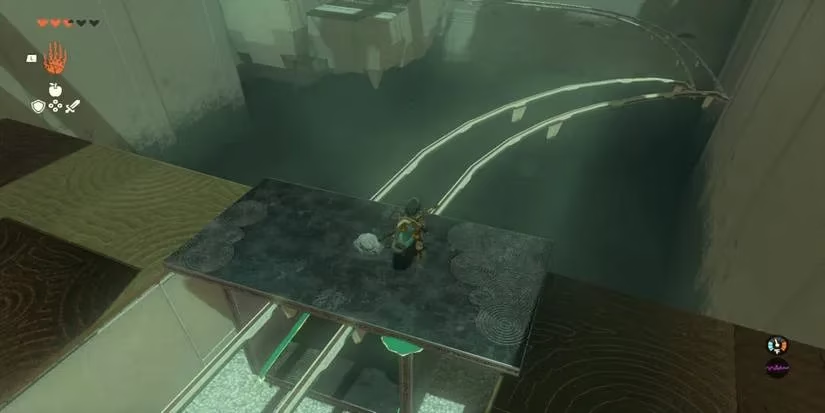
Then it hit me: the platforms need to hug the rail. You can’t just balance on top; you need to build something that wraps around the beam. I experimented with a T‑shape—attaching one square perpendicular to the middle of the other two—so the stem of the T slides inside the rail while the crossbar rides on top. A box configuration also works wonders: connect three squares into a U‑shape that surrounds the rail on three sides. Both methods prevent that heart‑stopping tipping moment. Once I built my box‑like sled and dropped it on the rail, the ride became almost boring—in the best way. The platform smoothly navigated both curves, and I hopped off on the far ledge, breathing again. 😮💨
The Ultimate Test: Fans, Gaps, and Zero Gravity
If you thought the curves were bad, the final chamber is the shrine’s masterclass in cruelty. You start underneath the rail. Yes, underneath, with no gravity to pull you forward. The rail itself begins as two parallel tracks before merging into a single line halfway across. And you have a bunch of wooden beams and two fans staring at you, daring you to mess up.
I probably spent twenty minutes here, experimenting with different contraptions. The winning design that finally delivered me to the monk was this: take the longest plank and lay it across the top of both rails. Then grab three other pieces and attach them vertically, dangling down between the two rails—one near the front, one in the middle, one near the back. If you can, add another long plank along the very bottom to create a complete box around the rails; it adds stability you’ll be grateful for.
Now, the lack of gravity is solved by those fans. I stuck one fan on the top plank, facing backward, and another on the bottom for symmetry—but honestly, one well‑placed fan on the back is enough. I used Ultrahand to lift my contraption onto the rail, then carefully climbed aboard. You can’t just wait for it to move; you have to whack the fan with your sword to start it. The moment I swung my weapon, the entire assembly lurched forward, rattling along the two‑track section, then squeezing seamlessly onto the single rail. My heart pounded as the machine wobbled, but the vertical beams kept us locked in place. Seconds later, I slid right up to the shrine’s exit, the monk’s blessing glowing before me.
A Few Extra Lessons I Picked Up
-
Don't overcomplicate the first section. Two squares side‑by‑side is all you need. Just master the timing jump.
-
For the curves, think \“wrap\” instead of \“balance.\” A T‑shape or a U‑shaped box will become your best friend not only here but in many other shrines.
-
On the final rail, symmetry helps. Centering your dangling pieces ensures the box doesn’t lean and catch on an edge.
-
Fans are fragile. If you attach them flimsily, they might snap off when you hit things. Fuse them firmly to the structure.
-
Save often. No, there’s no autosave inside, but a quick manual save before each attempt spares you a long climb back to the shrine.
Looking back, Jiukoum Shrine is a crash course in the kind of spatial thinking Tears of the Kingdom rewards. Even in 2026, new players are still discovering these puzzles, sharing clips of their spectacular failures, and occasionally reinventing the wheel with ludicrous fan‑powered helicopters that don’t need rails at all. But for me, conquering this shrine the intended way felt like a rite of passage. If you’re stuck, step away, breathe, and remember: the rail is your friend, as long as you’re wrapped around it tightly. 🛤️
Comments