Conquering the Lightning Temple: A Comprehensive Guide to Tears of the Kingdom's Electrifying Dungeon
The temples in The Legend of Zelda: Tears of the Kingdom represent some of the game's most formidable and rewarding challenges. Merely reaching them is a trial, but the intricate puzzles within test even the most seasoned adventurers. The Lightning Temple, encountered during the quest to aid Riju and resolve Gerudo Town's sandstorm crisis, stands as a prime example. This dungeon tasks players with mastering light and lightning to overcome obstacles and defeat terrifying foes. While its multi-floor layout can be daunting, a clear strategy makes conquest possible. Isn't it time to shed light on this electrifying puzzle box?
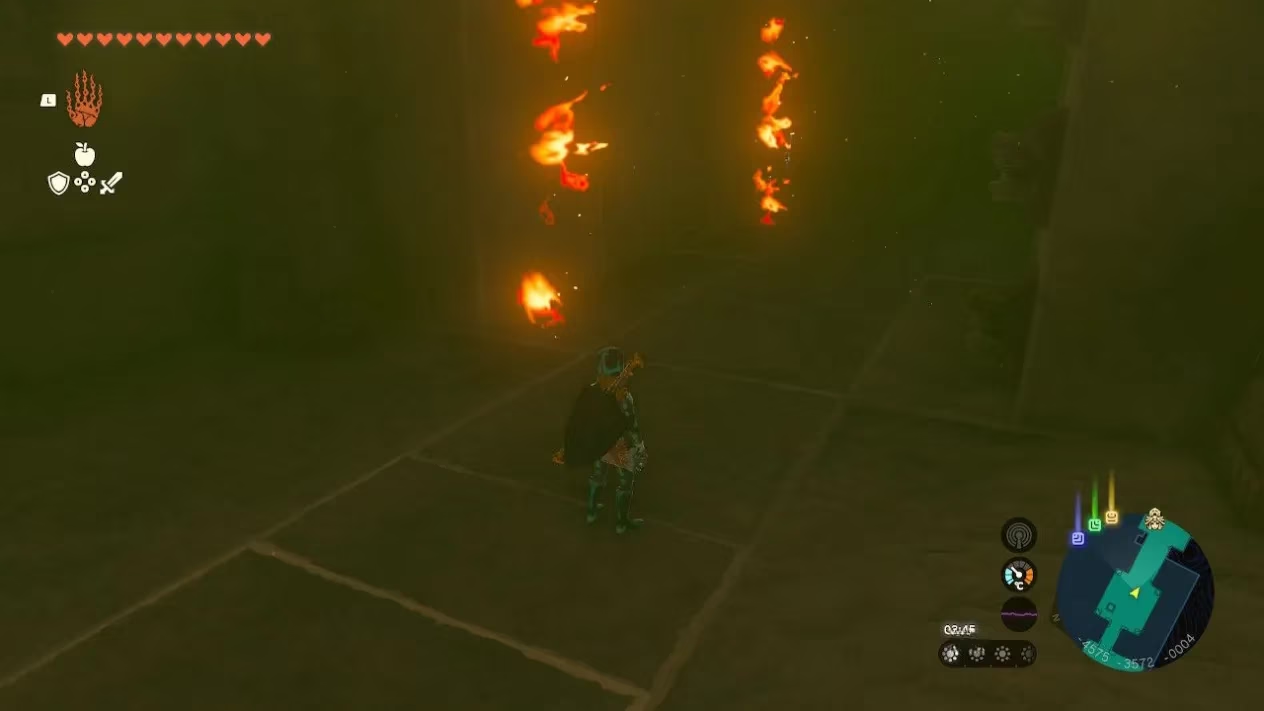
Upon entering the temple, the journey begins on Basement Level 1 (B1). A button directly ahead reveals a sloping path downward. After crossing two bridges—ignoring the Gibdos and items in the pits below—players must move rocks blocking a gap to access a side room containing a Gibdo, a chest with a Topaz, and a hidden Gerudo Greatsword. Returning to the main path, the next room features a center tile that collapses when stepped on, leading to a chamber with an Electric Keese and a Gerudo Scimitar. Using Ascend to return is crucial. After defeating Gibdos in the subsequent room, the challenge involves timing a sprint past deactivated jets of fire. A button in the next room permanently disables these flames and allows Riju to join the party.
A rolling fireball in the corridor ahead is intimidating but can be run past with minimal damage if Link is healed. Deactivating this trap via another button leads to a room with a central pit. Dropping down and picking up a weapon from a crypt activates a Gibdo Hive, which must be destroyed using Riju's lightning arrows. Climbing the slope from here leads to the Room of Hopeful Light on what is effectively the ground floor. After defeating a Captain Construct, the puzzle involves clearing sand from a small dune using a Fan, a Korok Frond, or Tulin's Gust ability.
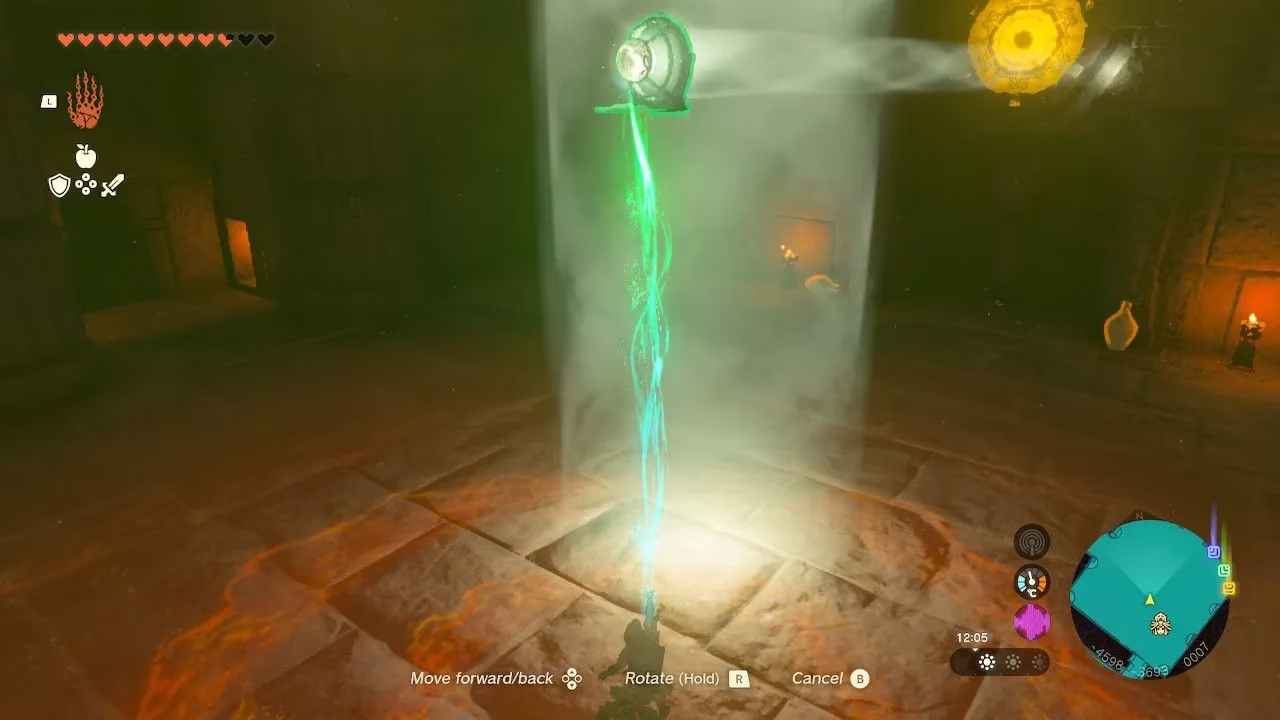
Clearing the sand reveals a Mirror. Using Ultrahand to position it allows players to reflect a central beam of light onto a panel above a locked door, granting access to Floor 1F. Here, the temple's main objective becomes clear upon interacting with the central Zonai Pedestal, which activates a fast-travel point. The goal: power an elevator by charging four batteries. The first battery is conveniently located behind the pedestal, hidden behind removable stones. Riju's lightning, shot at the prong on top, charges it. One down, three to go!
Navigating the Upper Floors: Light, Mirrors, and Precision
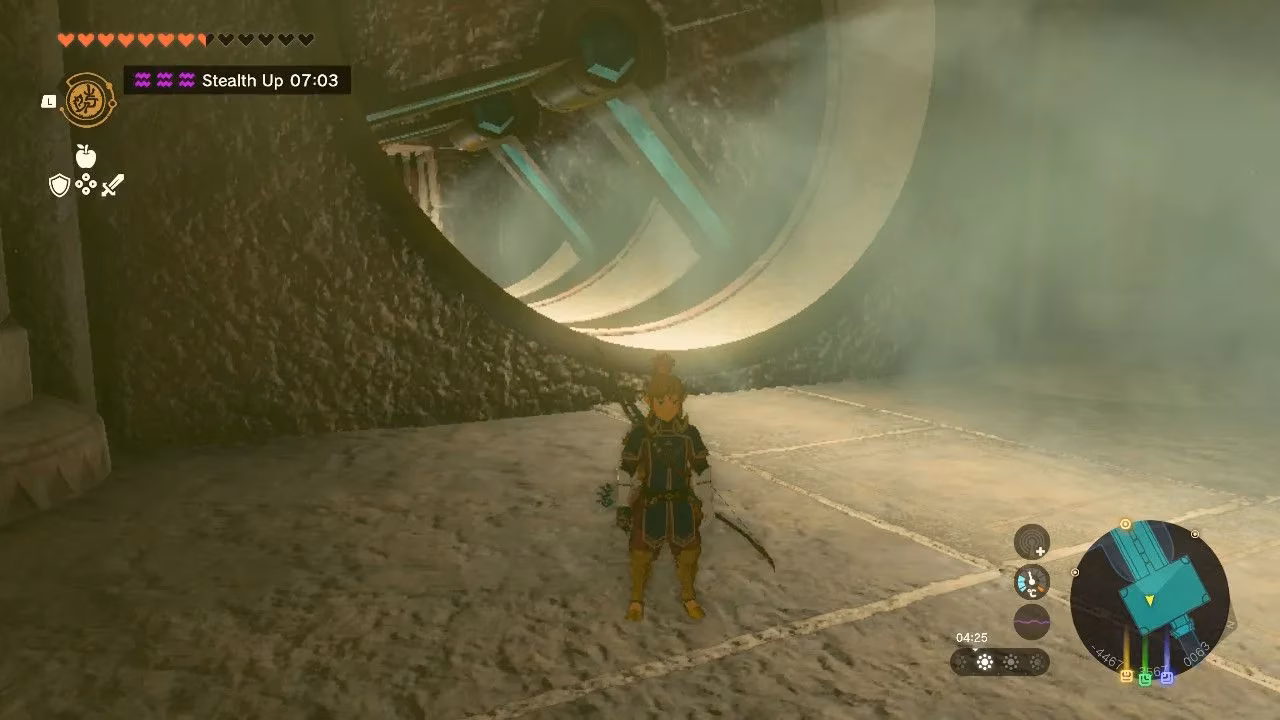
The path to the remaining batteries requires ascending. From the main room, take the stairs up. To reach the next battery, players must effectively climb to Floor 4F, navigating through Floor 3F via a flame-lit passageway. This area contains a Construct with a Flame Emitter spear and a tunnel of rotating wheels with gaps.
-
Puzzle Solution: Use Recall on one wheel to align its gap, then time the release to sync multiple wheels. This allows a light beam to pass through and hit receptors, opening gates and creating new passageways on the fourth floor.
-
New Hazards: The 4F passage contains smashing spiked walls. The solution is to use large blocks found nearby to jam the mechanism, creating a safe path. Pressing a button at the end deactivates the trap.
-
Mirror Hunt: Dropping through a floor gap leads to a room with sand piles. Clearing them reveals Mirrors used to redirect light through the rotating walls back to the room above, requiring the use of Ascend to return.
Returning to the temple's central room and dropping to the ground floor reveals a block generating an updraft. Removing it creates a powerful gust that lifts Link to Floor 5F. After dealing with a Construct, a side passage on the southwestern wall leads to a light reflection puzzle involving statues with attached Mirrors.
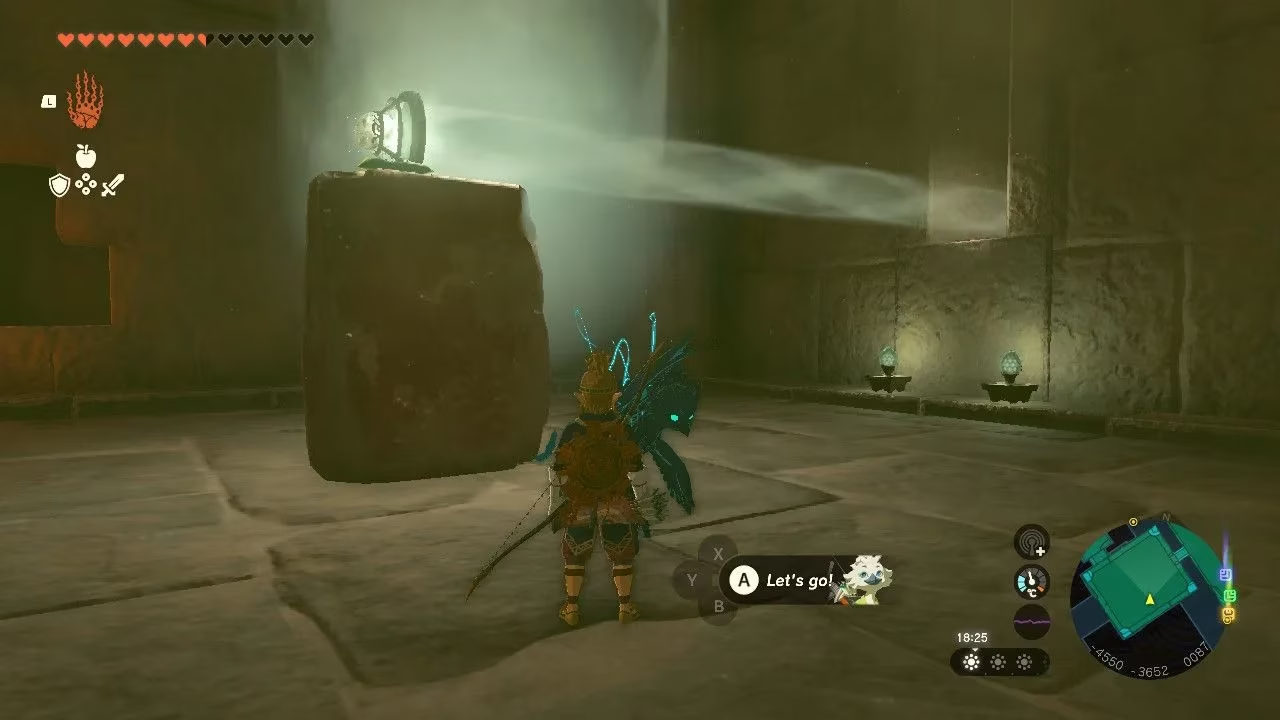
The initial setup here is to bounce light off a statue to hit a receptor on Floor 2F, unlocking a new area. To reach the second battery, players must descend to 2F, step on a revealed button, and solve another refraction puzzle. This one requires ingenuity:
| Step | Action | Goal |
|---|---|---|
| 1 | Attach a Balloon to a metal grate. | Create a floating platform. |
| 2 | Attach a Mirror to the Balloon, aiming it upward. | Direct the light beam. |
| 3 | Place the contraption in the light beam. | Position it for activation. |
| 4 | Use a lit Torch or heat source underneath. | Inflate the Balloon to lift the Mirror. |
Once the floating Mirror aligns with a high-up receptor, the path to the second battery clears, allowing Riju to charge it.
The Final Stretch: Reaching the Summit
The quest for the third and fourth batteries leads back to the 5F statue puzzle. After moving the first statue aside, players must clear sand to free the opposite statue. Adjusting it to reflect light toward a fourth statue, which then points to a high receptor on the southeastern wall, reveals a button. An updraft helps reach it, granting access to a new room.
This area presents a vertical tunnel filled with flames. Gliding down carefully avoids damage. At the bottom, a button lets Riju catch up, and after defeating any Constructs, the final battery can be activated. But what awaits after all this effort?
With all four batteries charged, the temple's central mechanism is complete. Returning to the Zonai Pedestal on 1F and activating it once more powers the elevator, leading directly to the temple's boss chamber. Players should ensure they are fully prepared with healing items, powerful weapons, and a good supply of arrows before this final confrontation. The Lightning Temple's blend of environmental puzzles, combat, and cooperative use of Riju's powers makes it a standout dungeon in Tears of the Kingdom, offering a deeply satisfying challenge for those who master its currents of light and energy.
Comments